April 9th 2020
No.4(Cube)- Part 2
After IMPACT 's Work in Progress, I changed the idea of doing a solo performance to a trio setting so I made some changes from the original proposal.
After IMPACT 's Work in Progress, I changed the idea of doing a solo performance to a trio setting so I made some changes from the original proposal.
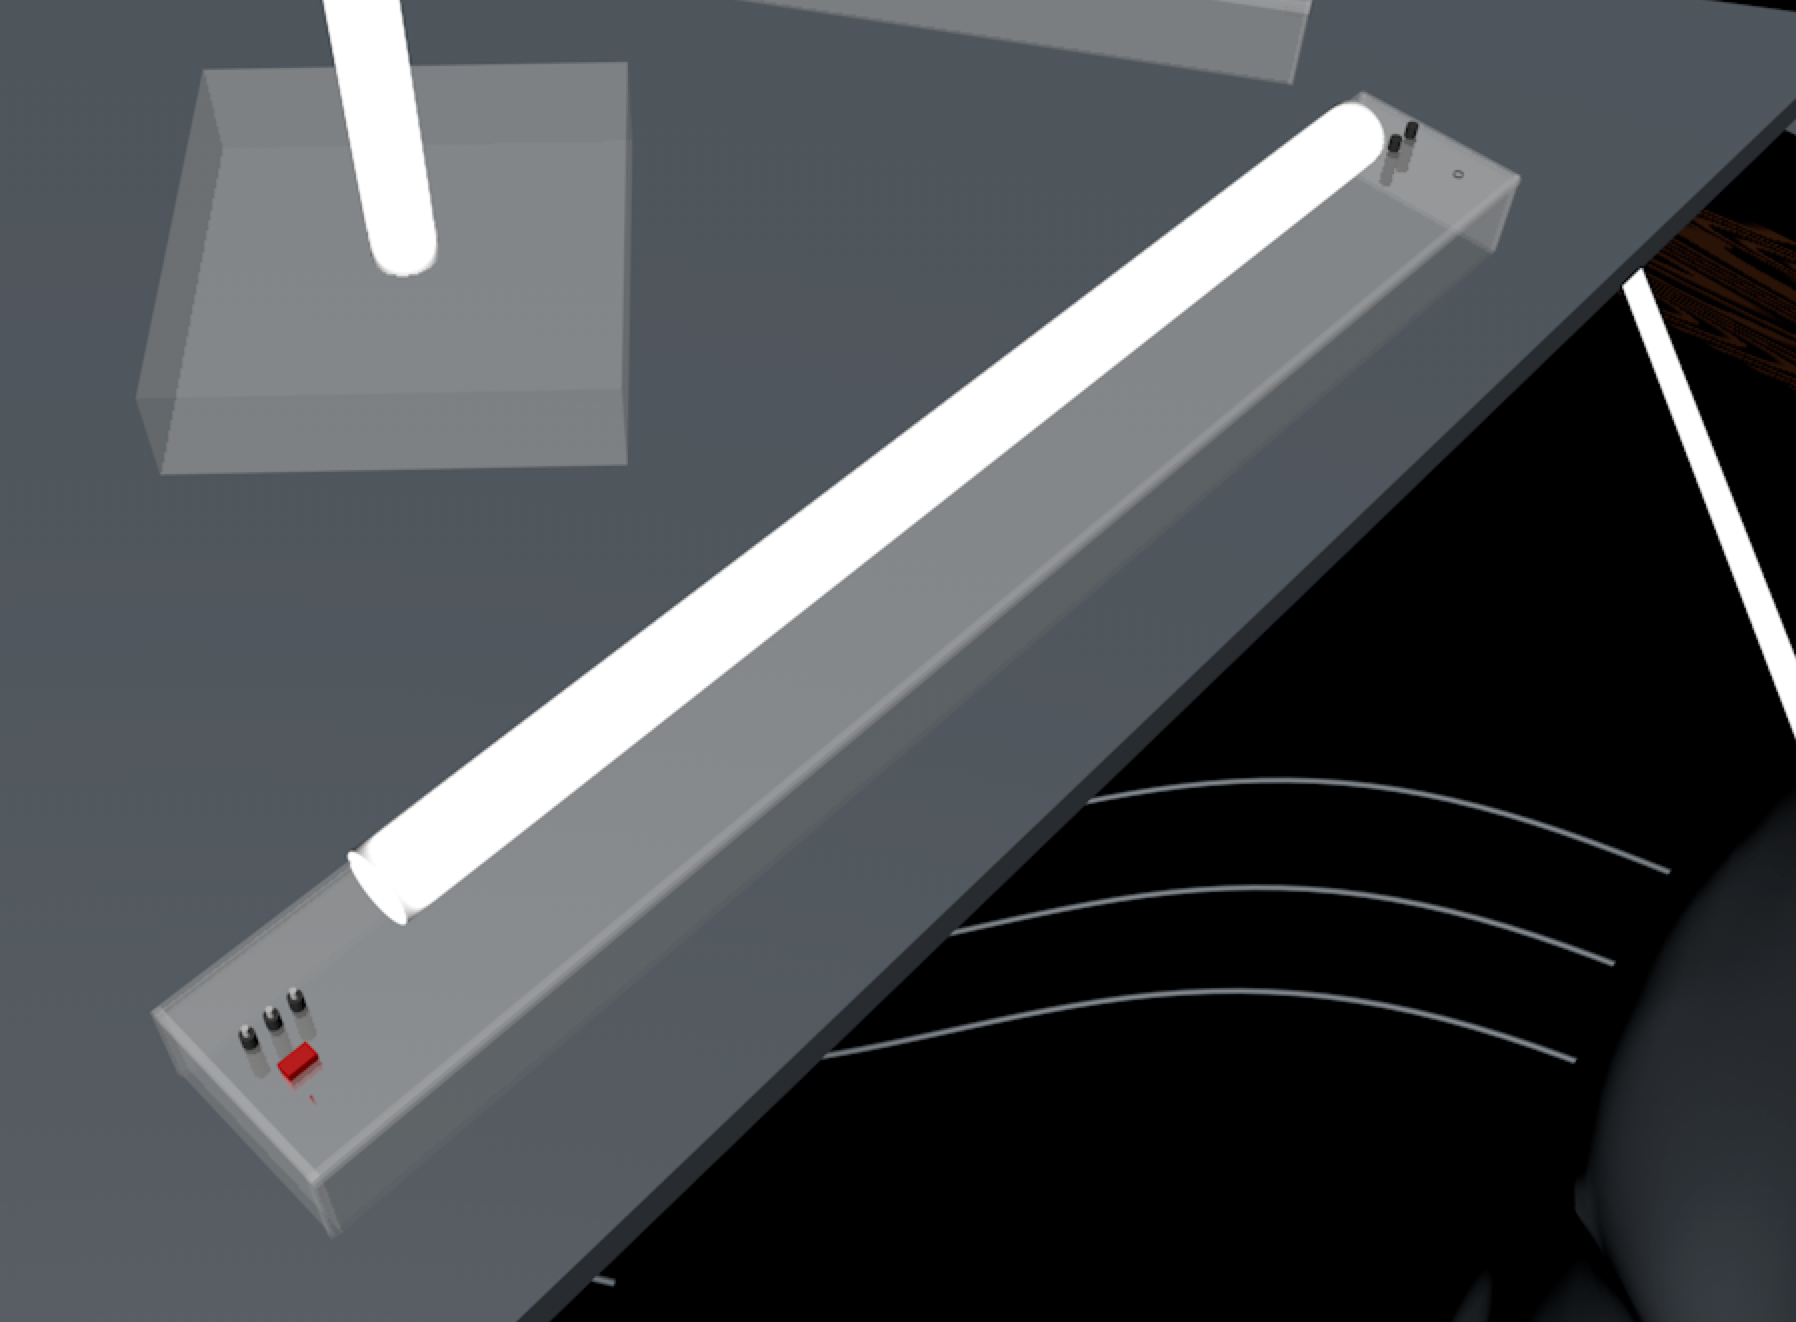
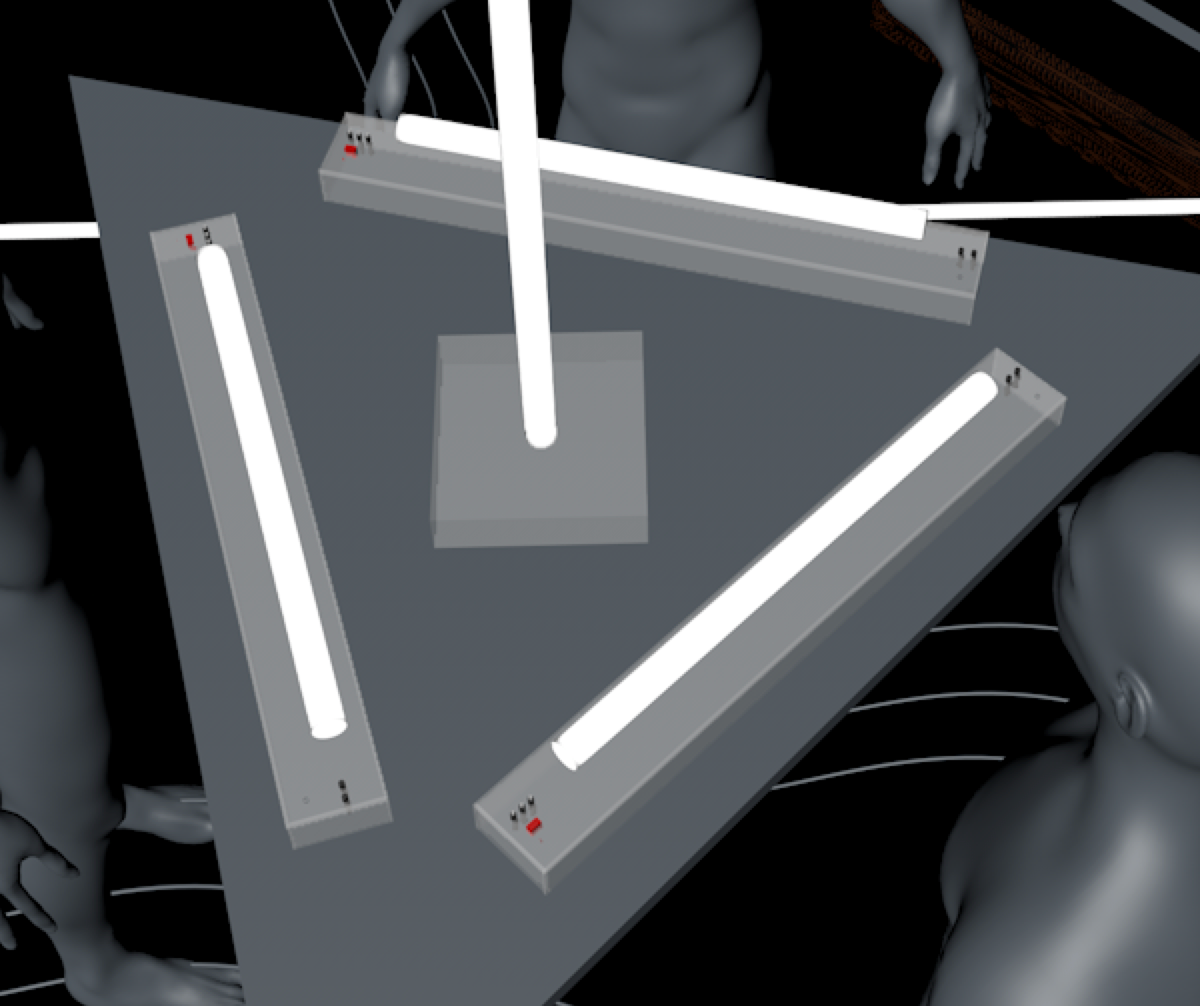
Three performers, each of us will play a horizontal light instrument. In the center, there will be a vertical light instrument that has photocells that will affect its patterns.
The basic code is am using is coming from my Microcontroller sound class. a simply code that creates some interesting synth sounds. See the video on the right side.
So, I can play with this sound, plus using solar panels, open jacks and coil pickup, having these 4 layers to compose some music!
I have explored the ways I mentioned above in my studies in SAIC. Actually I learned to use an open jack to get the hum sound from playing Simon Loffler's B (for fluorescent lights, open jack, pedals) when I did my senior recital. It was my first time working with electrical stuff for a musical piece(not counting making contact mic for Cage's Child of Tree).
I have explored the ways I mentioned above in my studies in SAIC. Actually I learned to use an open jack to get the hum sound from playing Simon Loffler's B (for fluorescent lights, open jack, pedals) when I did my senior recital. It was my first time working with electrical stuff for a musical piece(not counting making contact mic for Cage's Child of Tree).
I will do some video later to show how each of tools will pickup what kind of noises with the light.
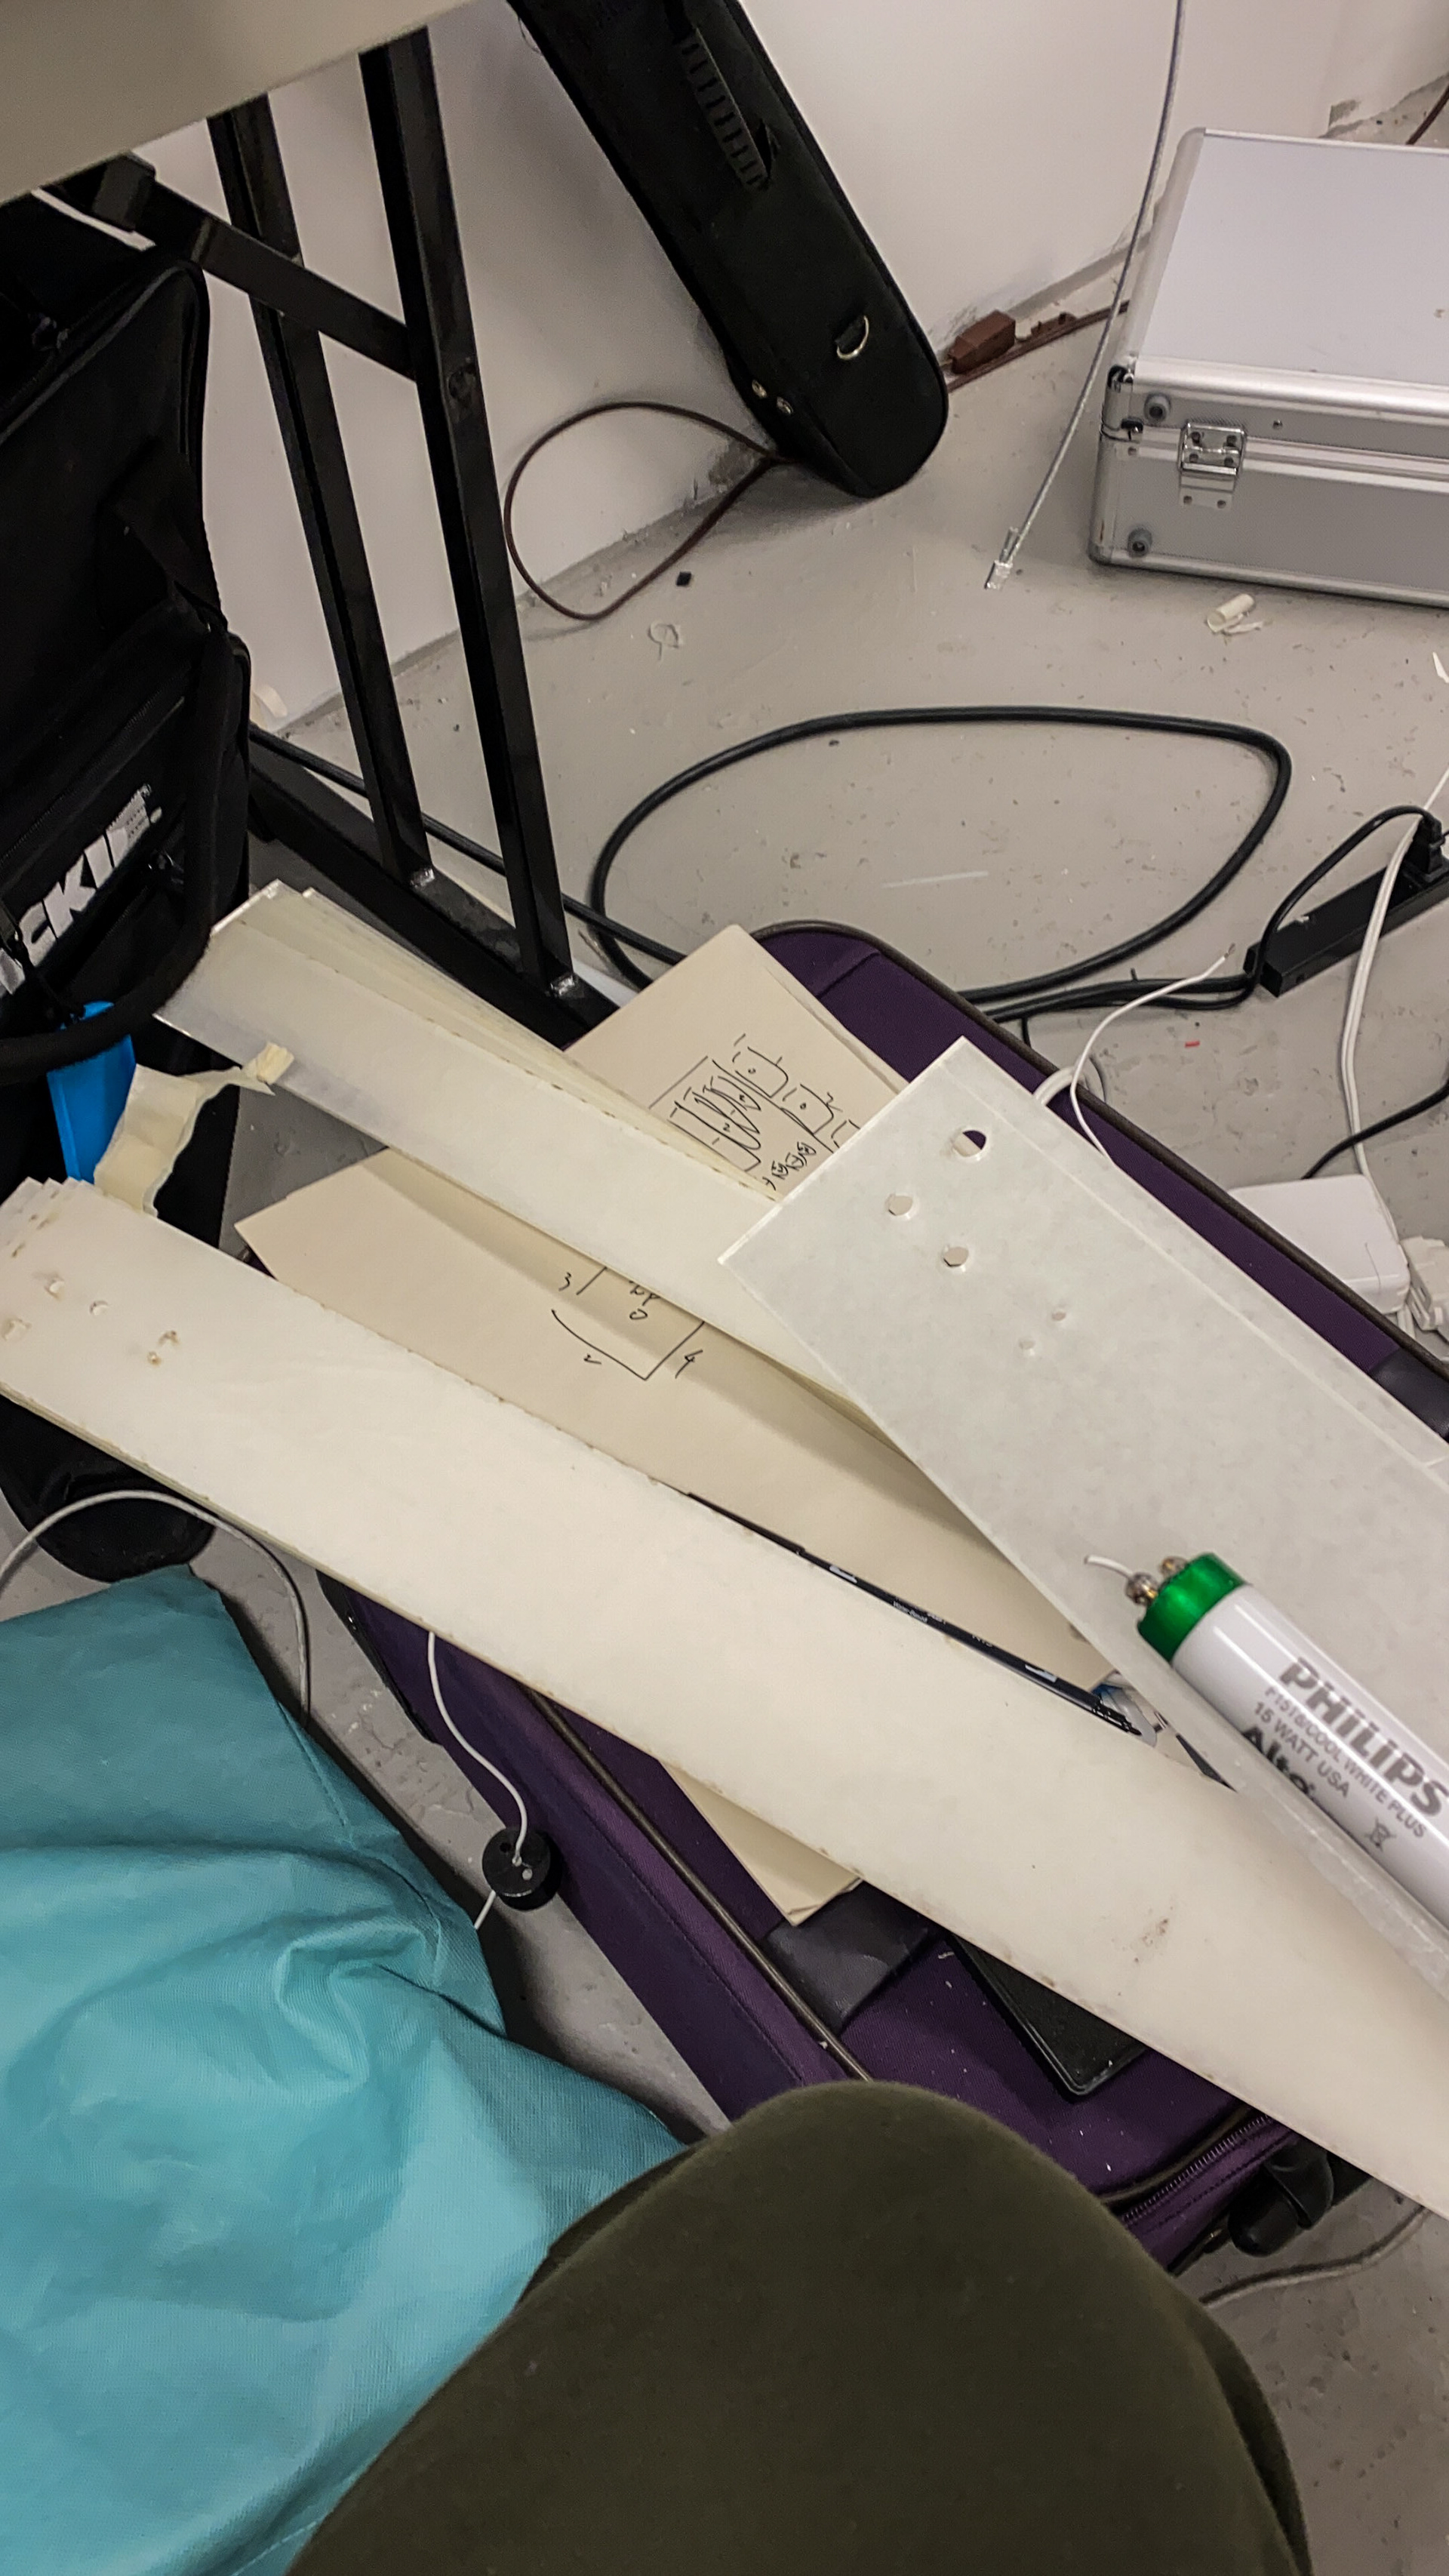
Then designed some layers in AI, then booked the last appointment to do some laser cutting before school locked down! It was my first time using the laser cut machine at SAIC, so easy, should have used it long time ago, now because of the pandemic, I don't know if I would be able to use it in the future again.
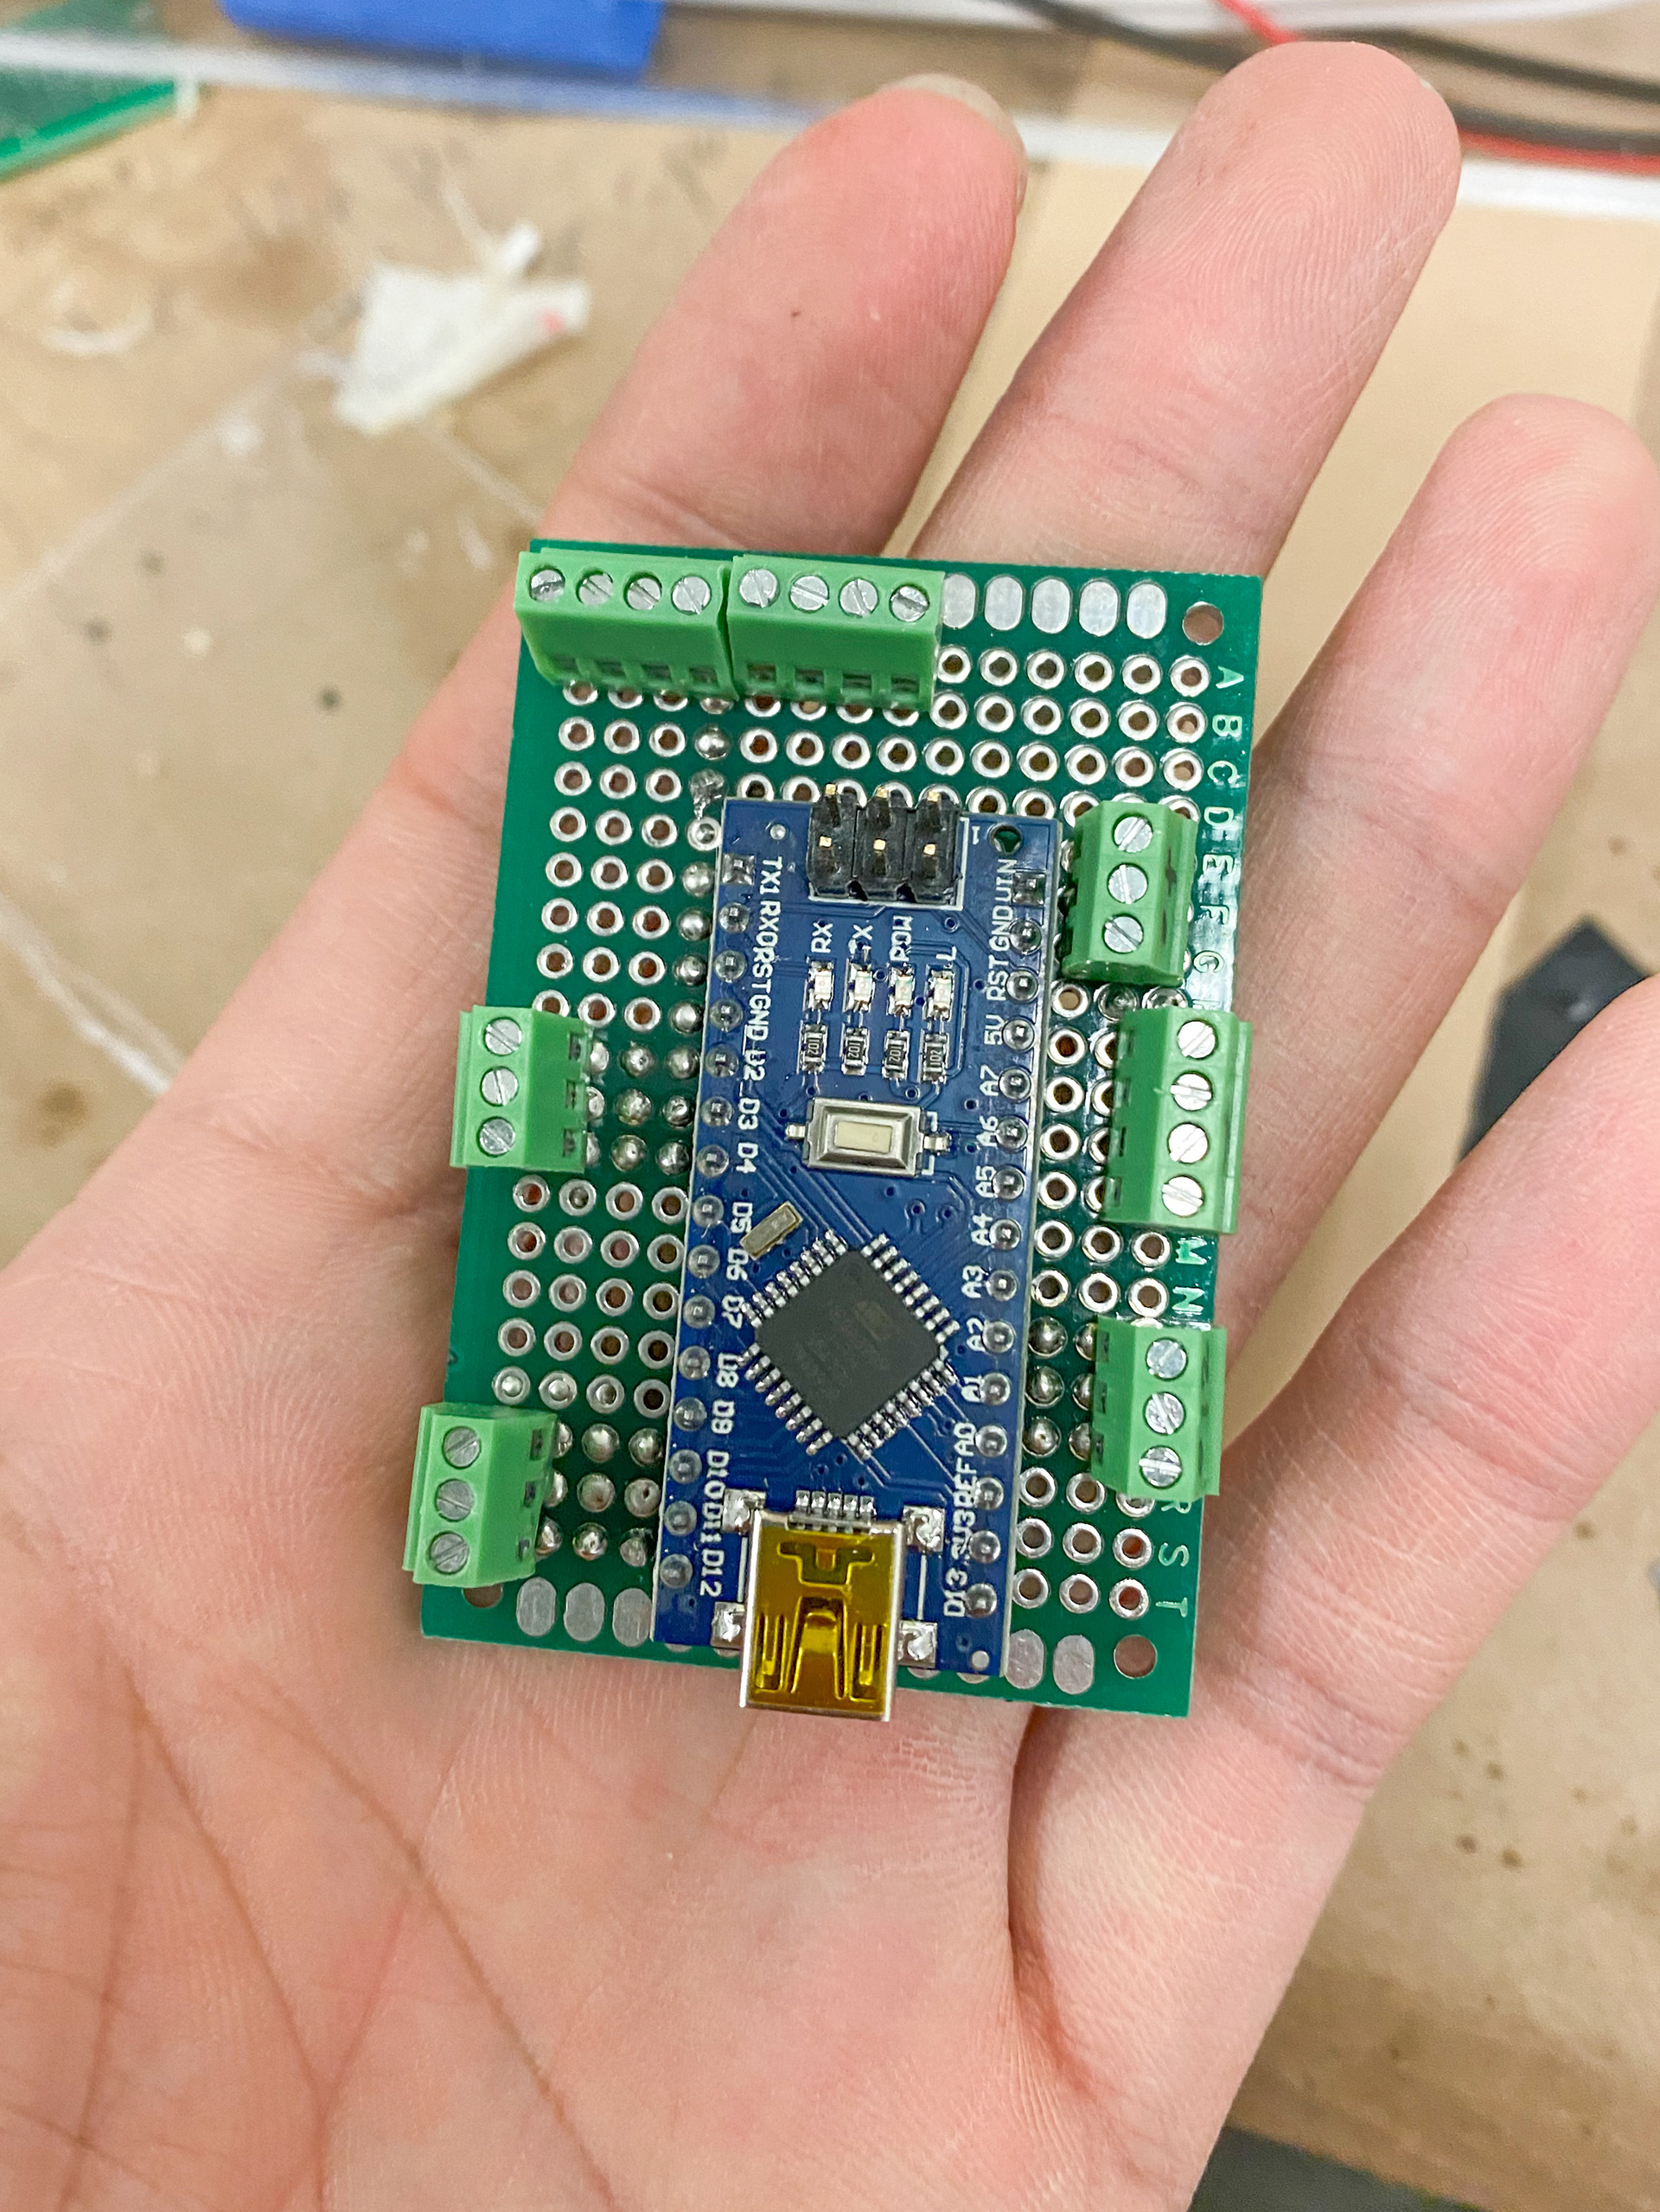
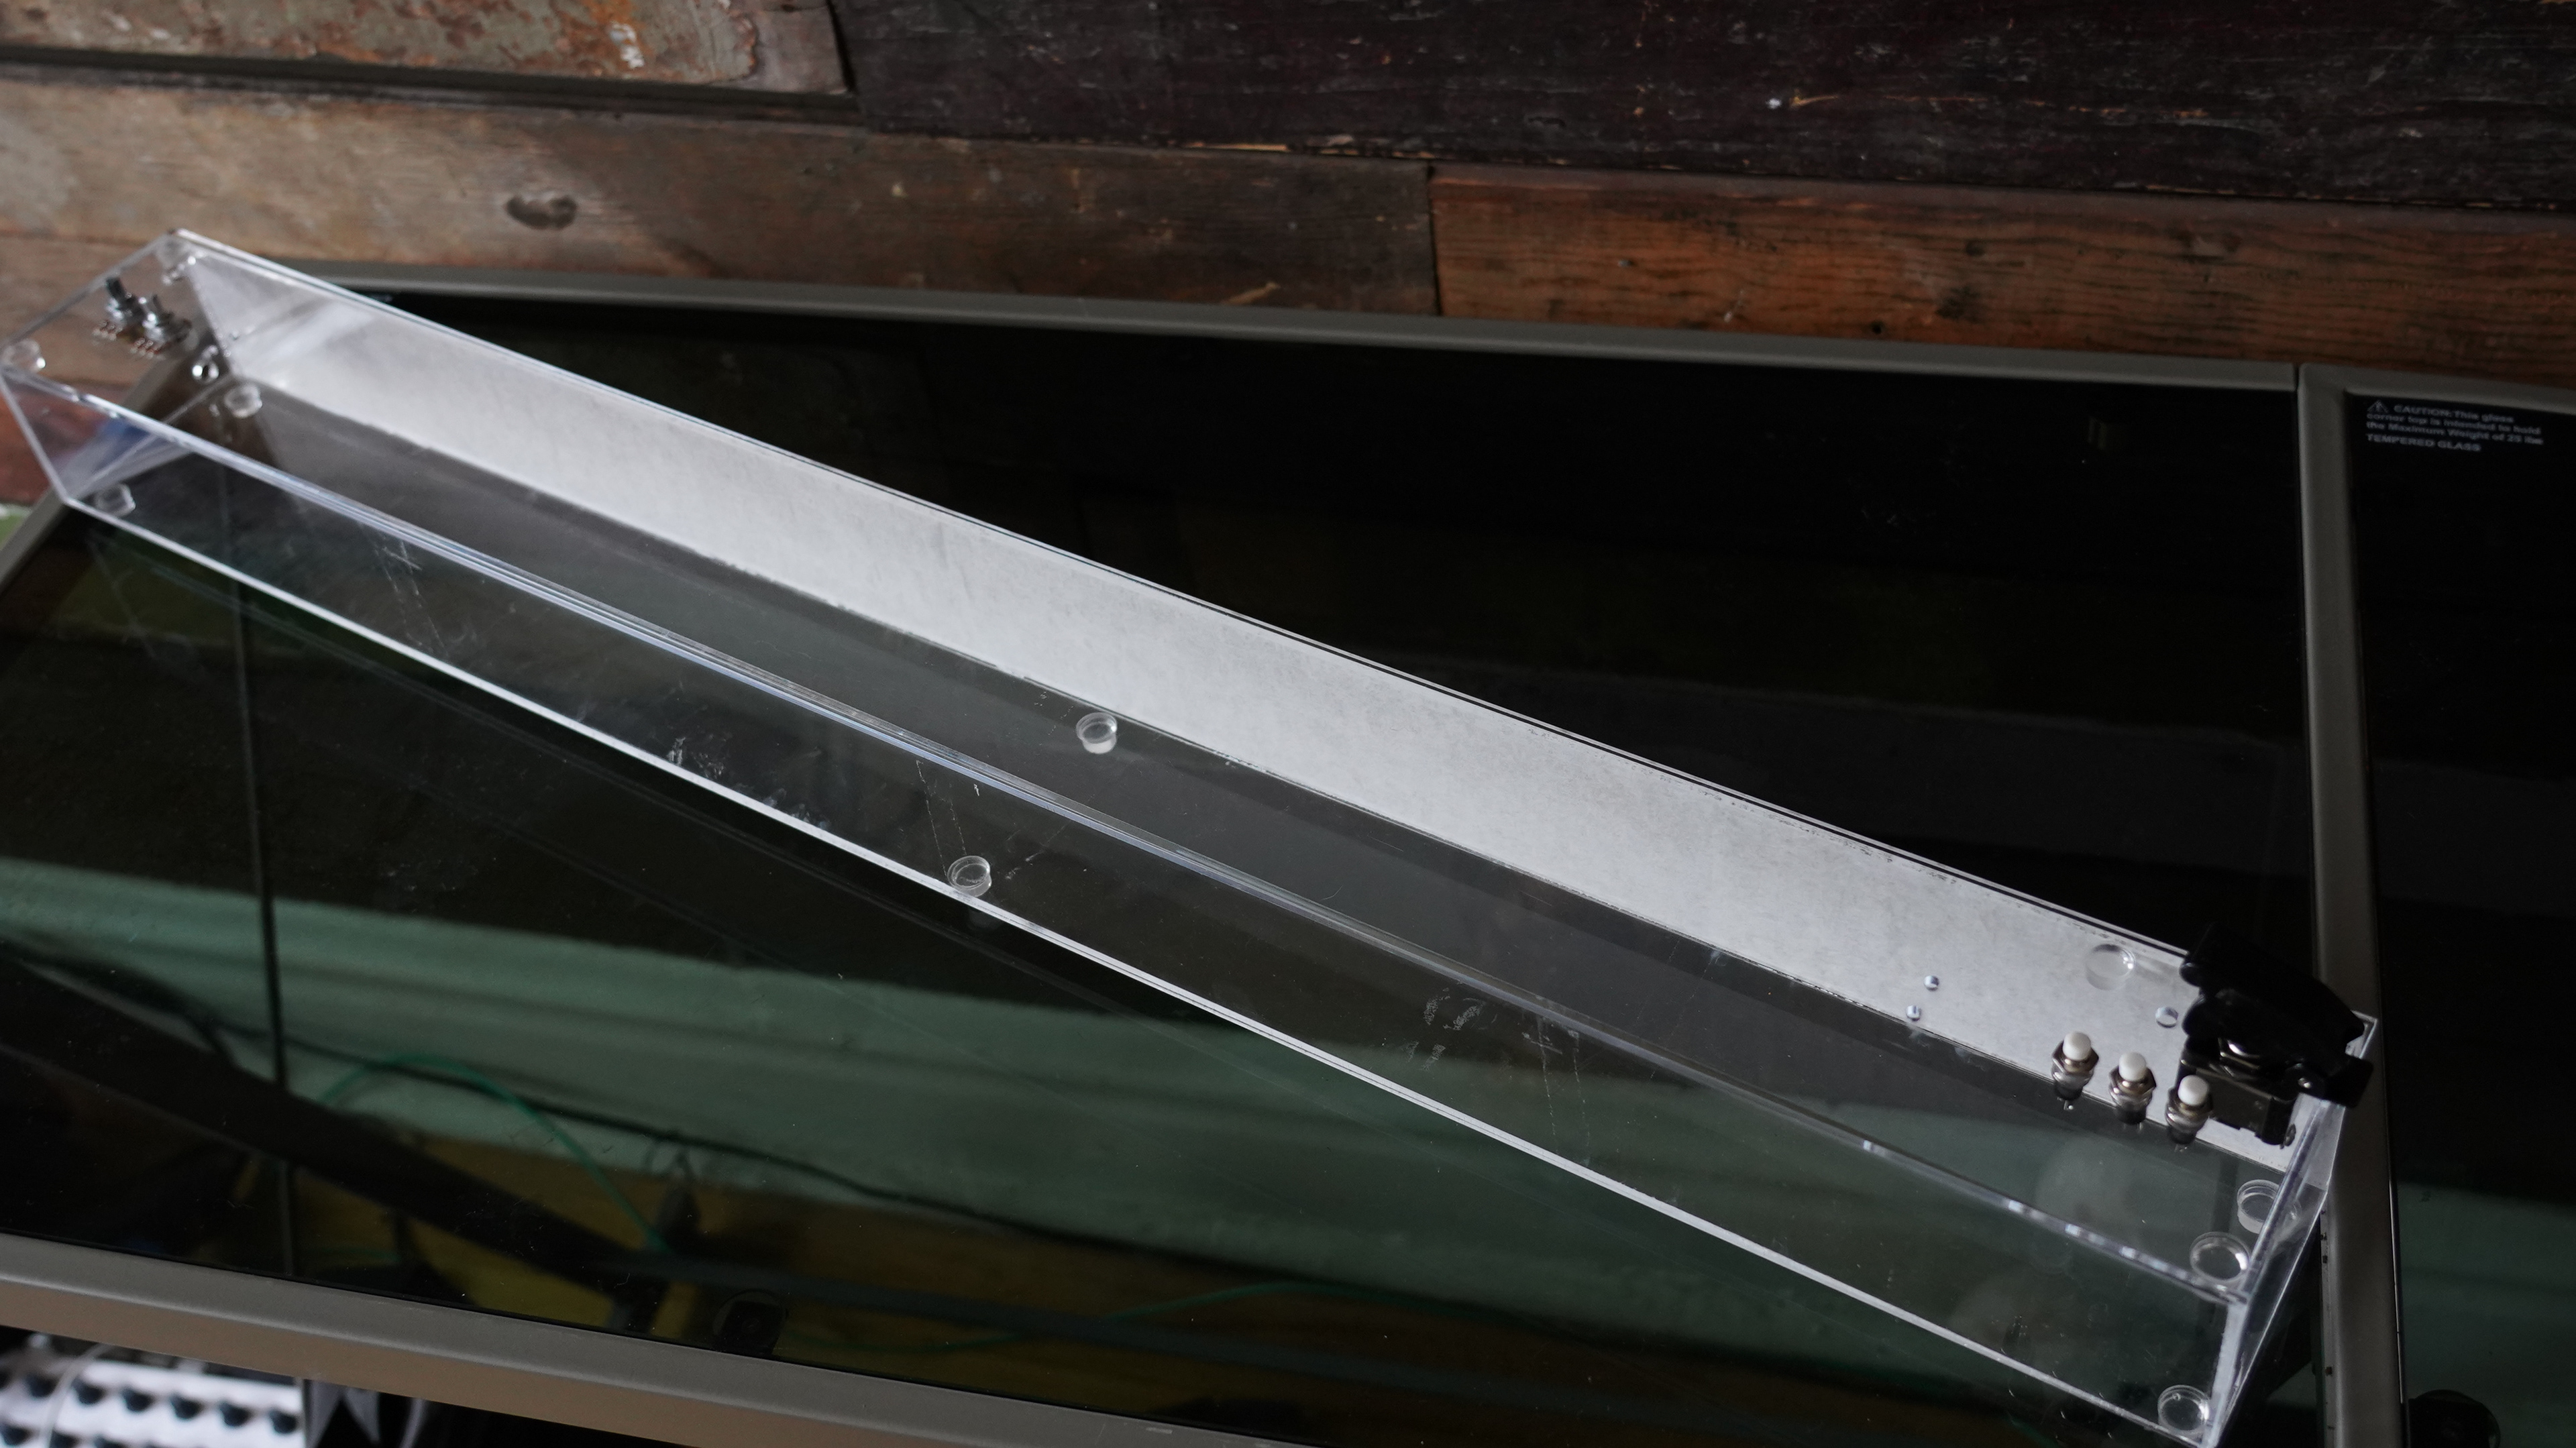
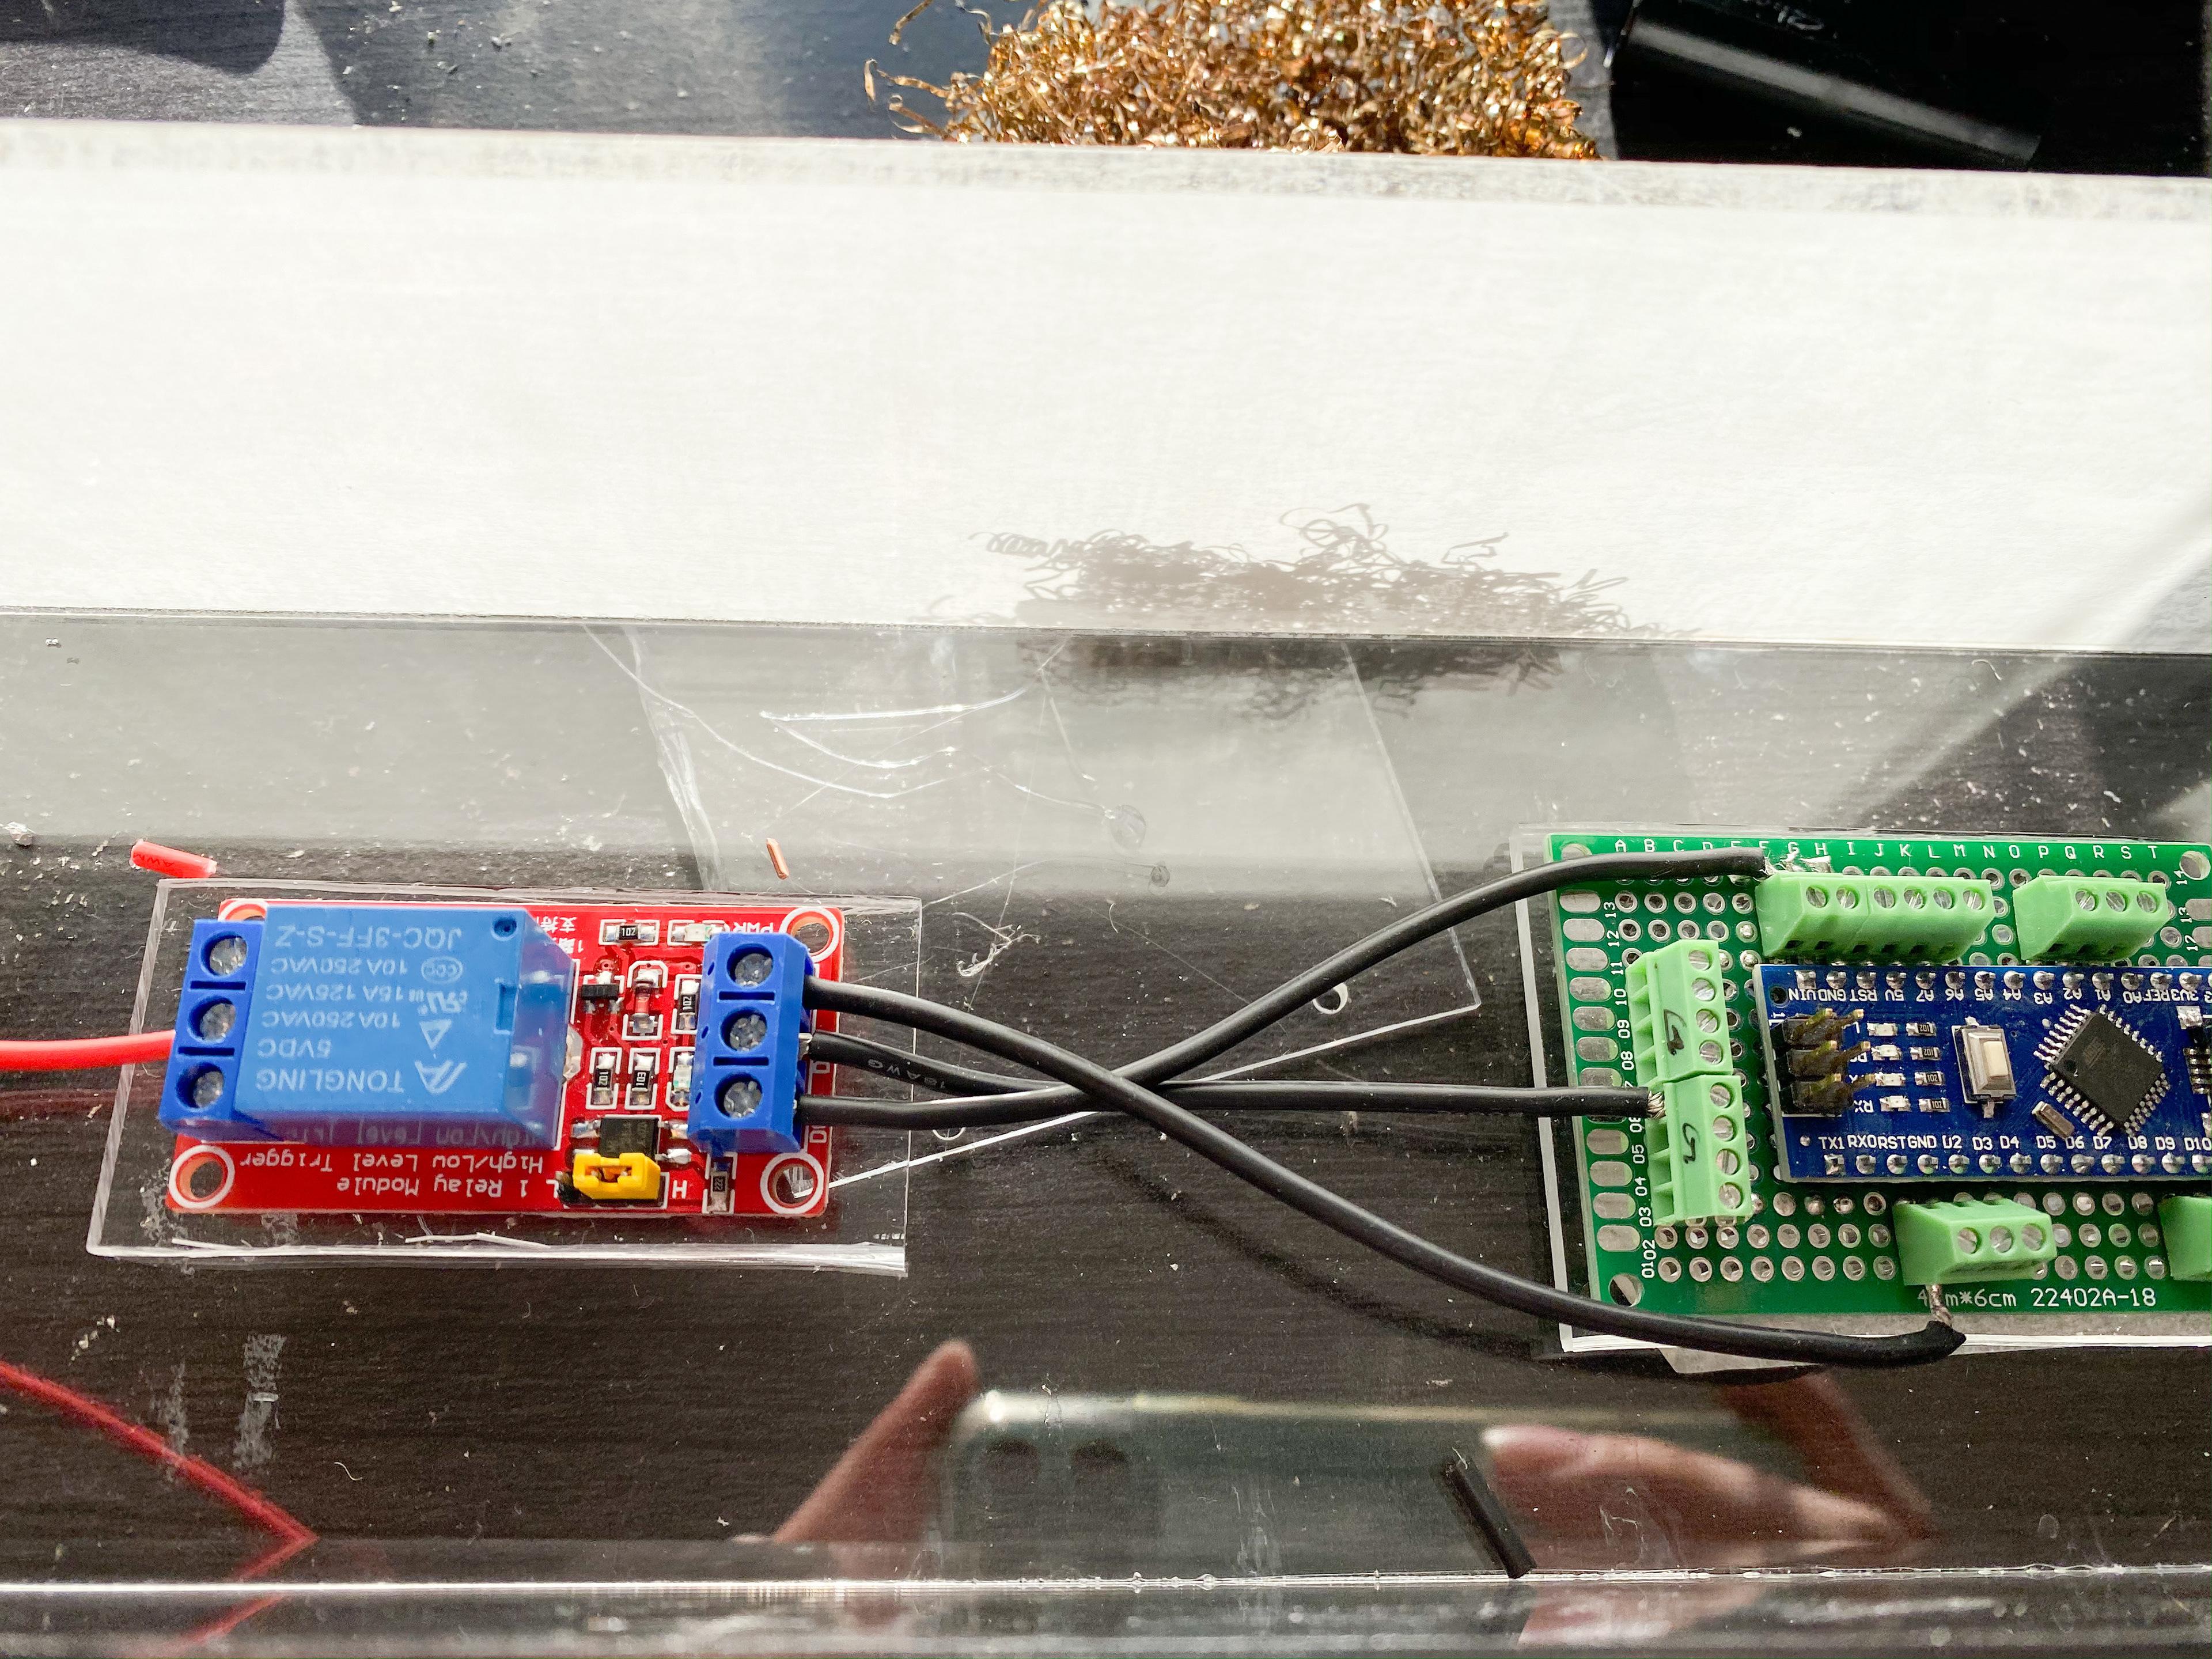
After I gotten the parts for the instrument, I went back to my studio design the circuit part. I am using an Arduino Nano for this project because I want it to be small and tidy inside.
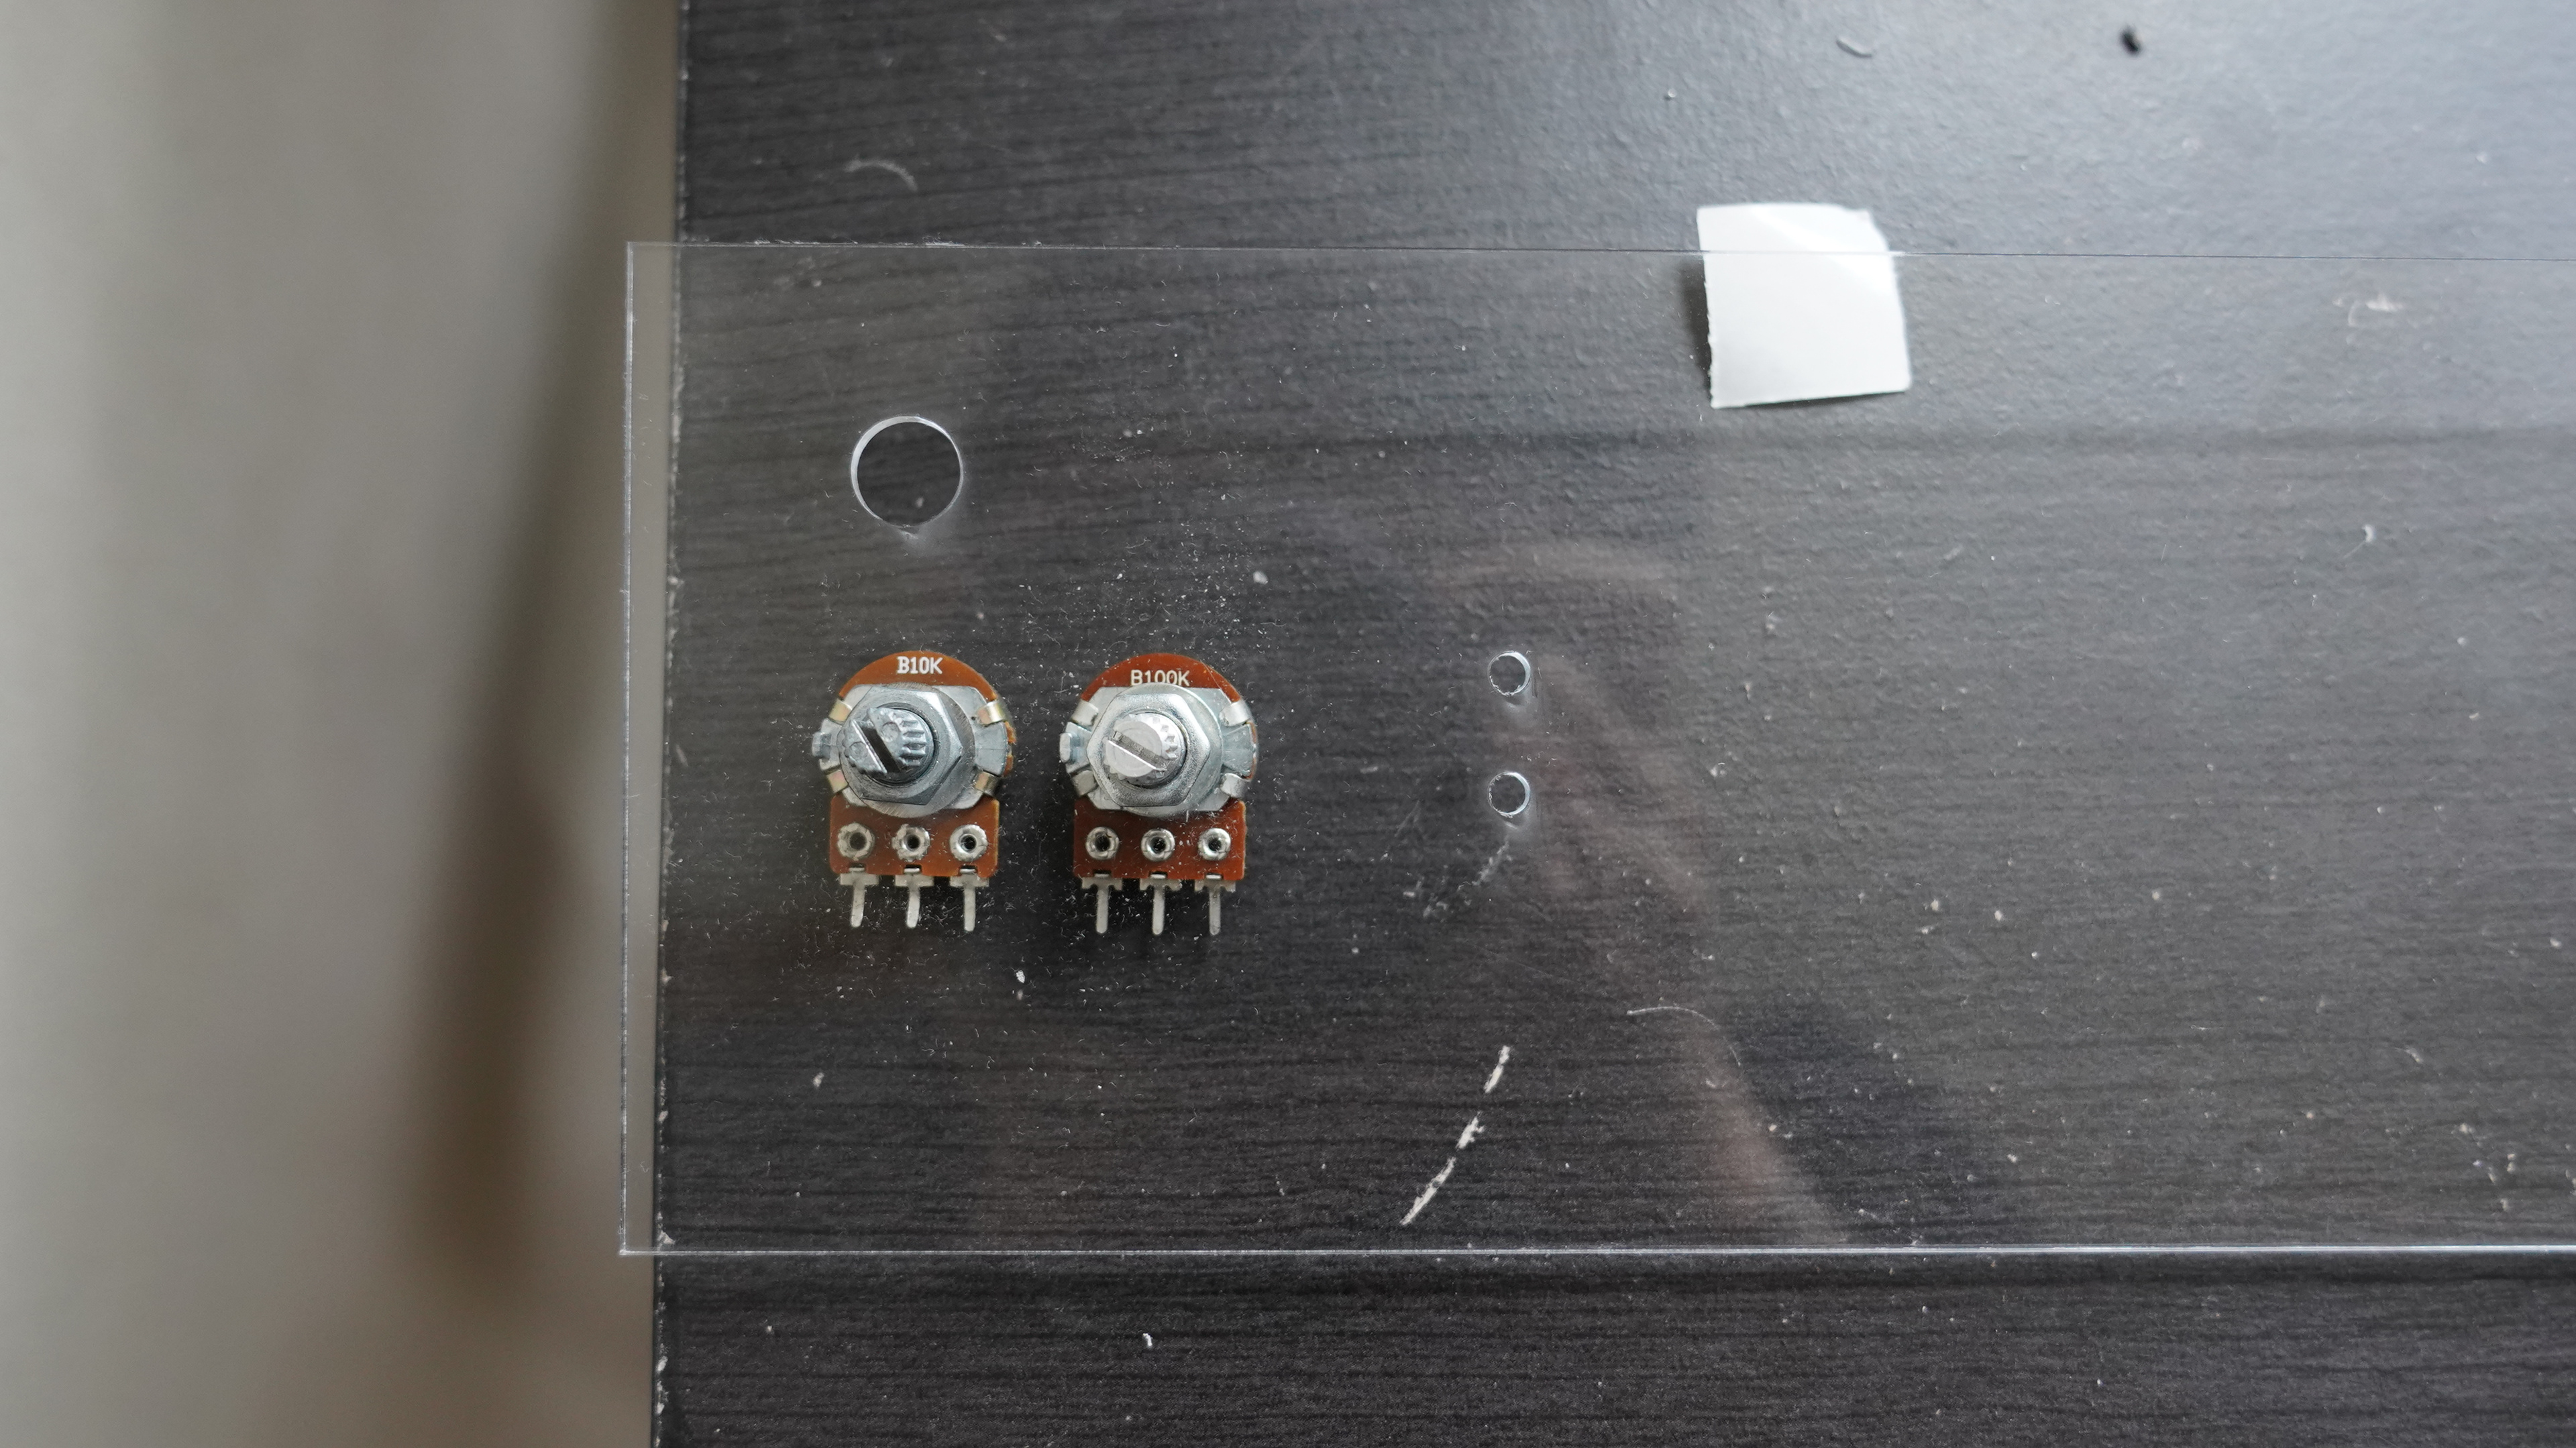
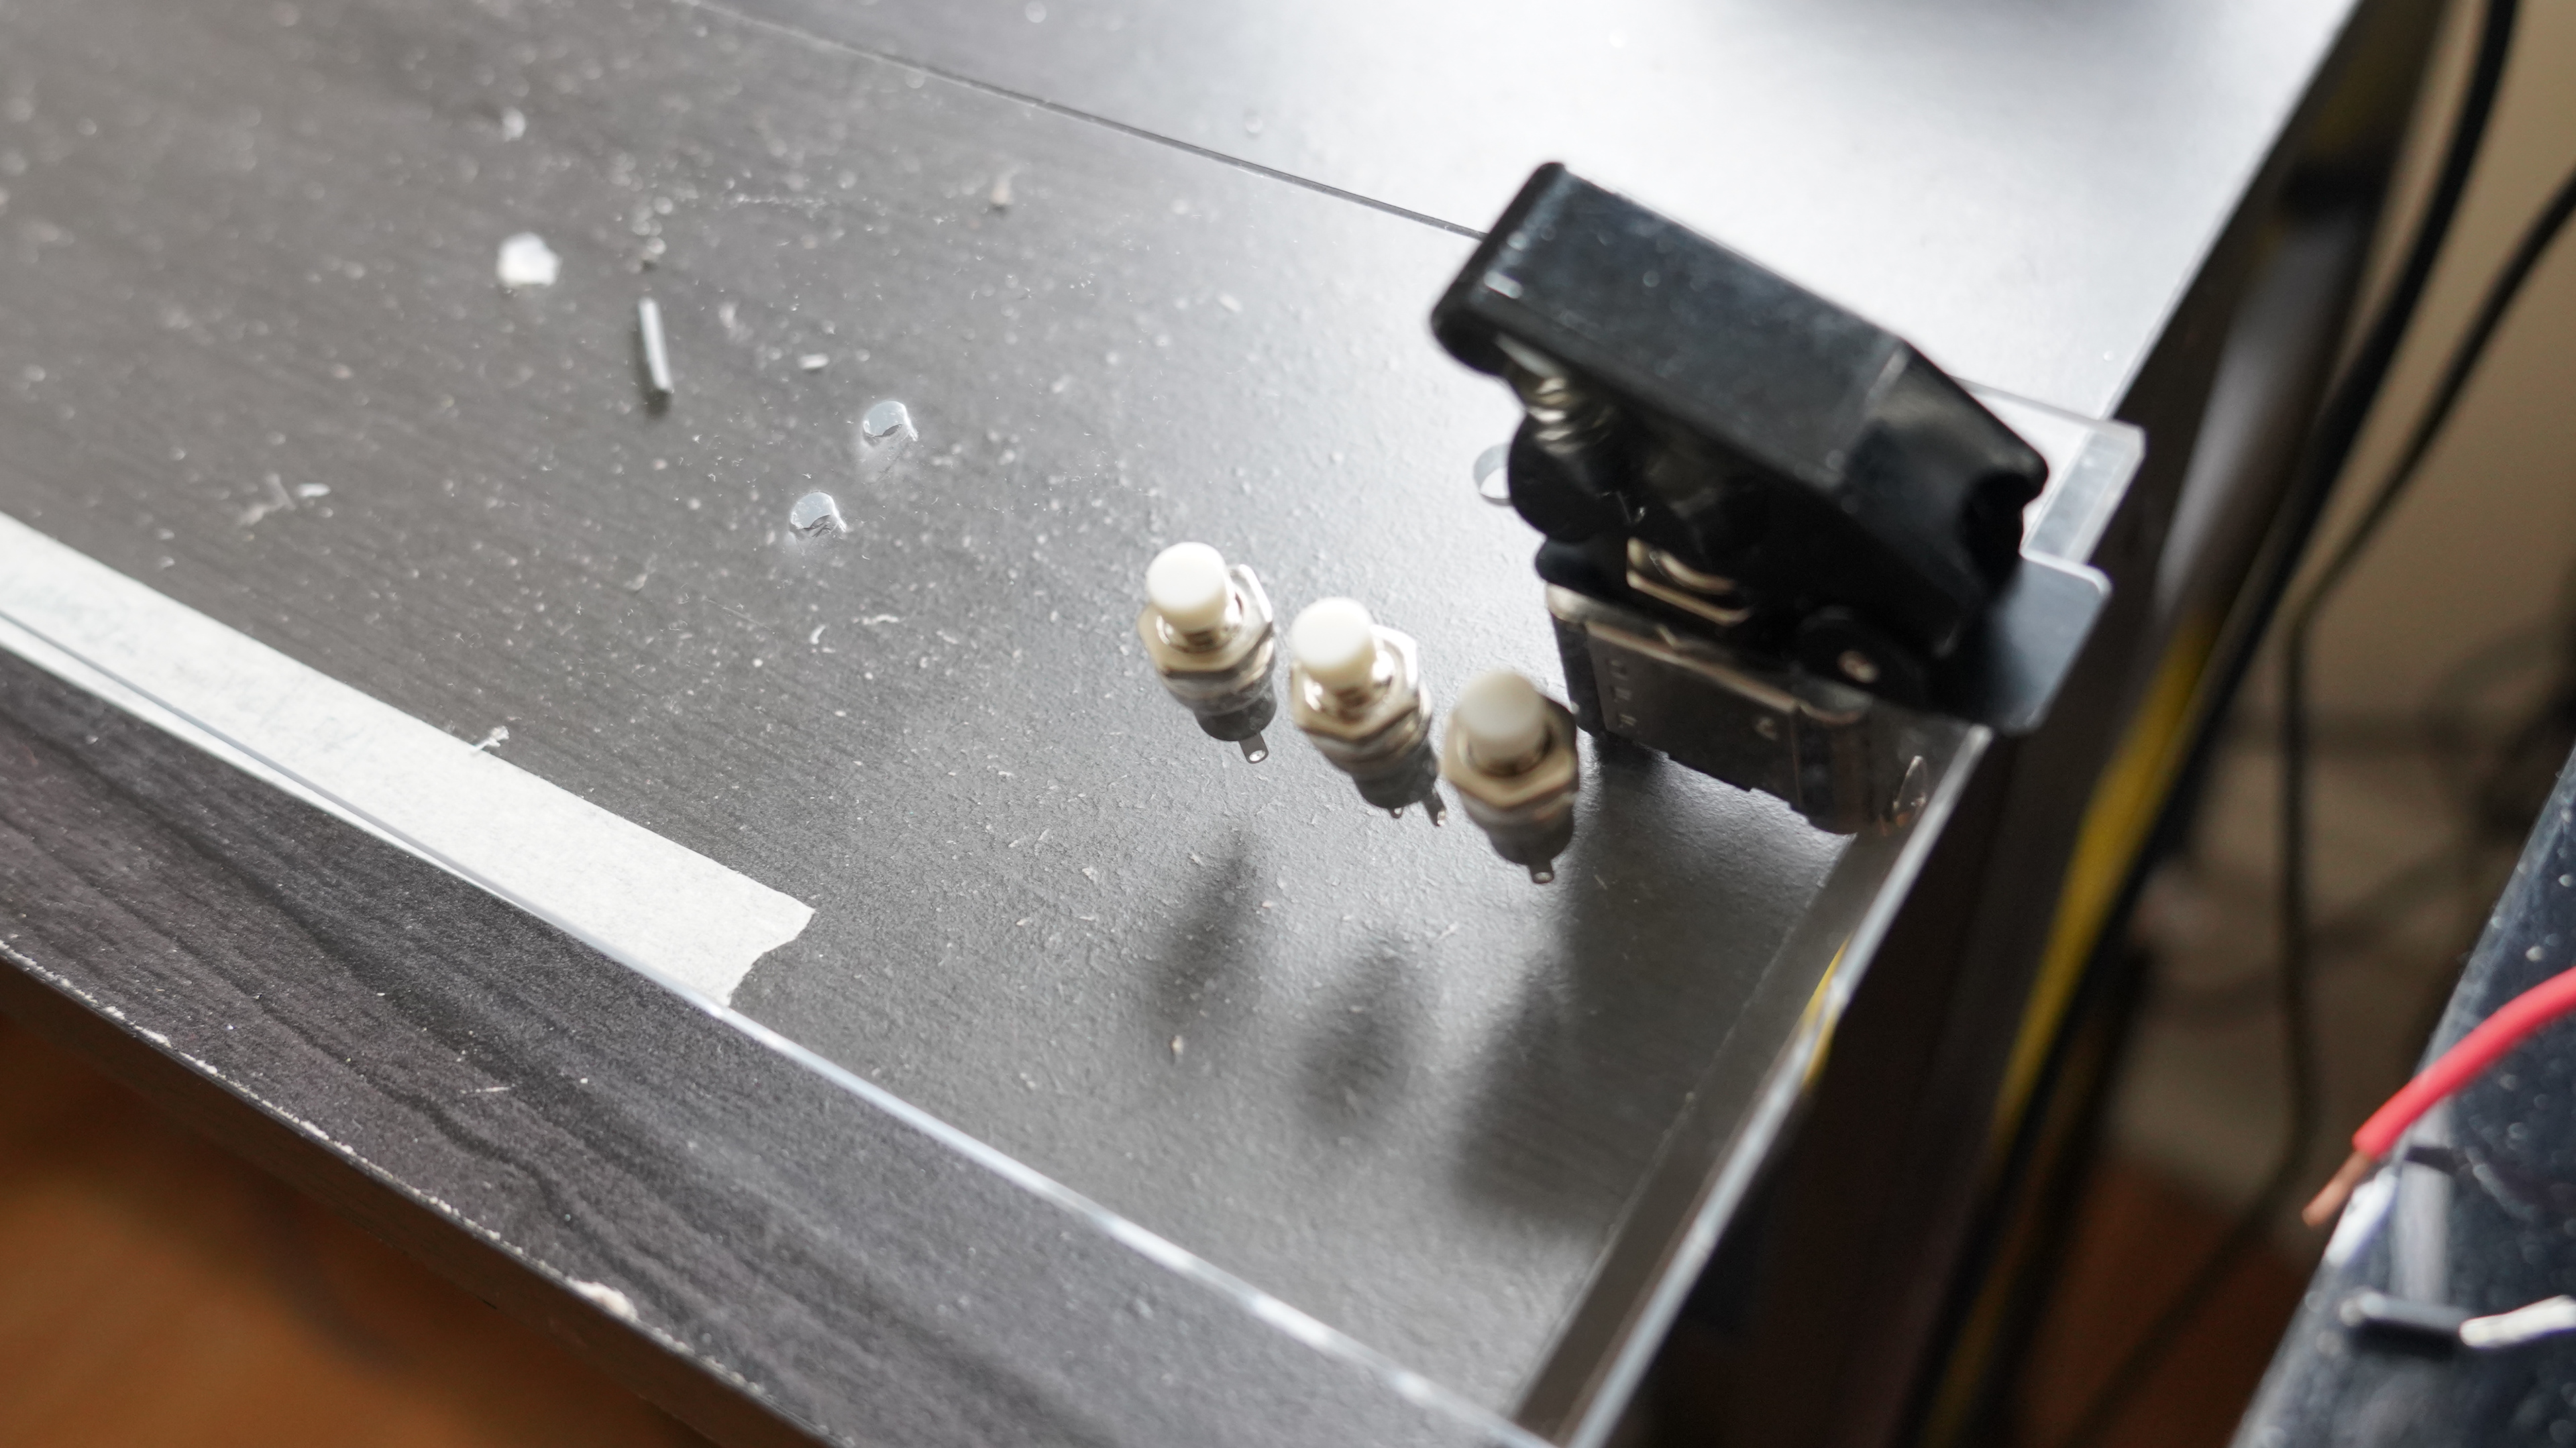
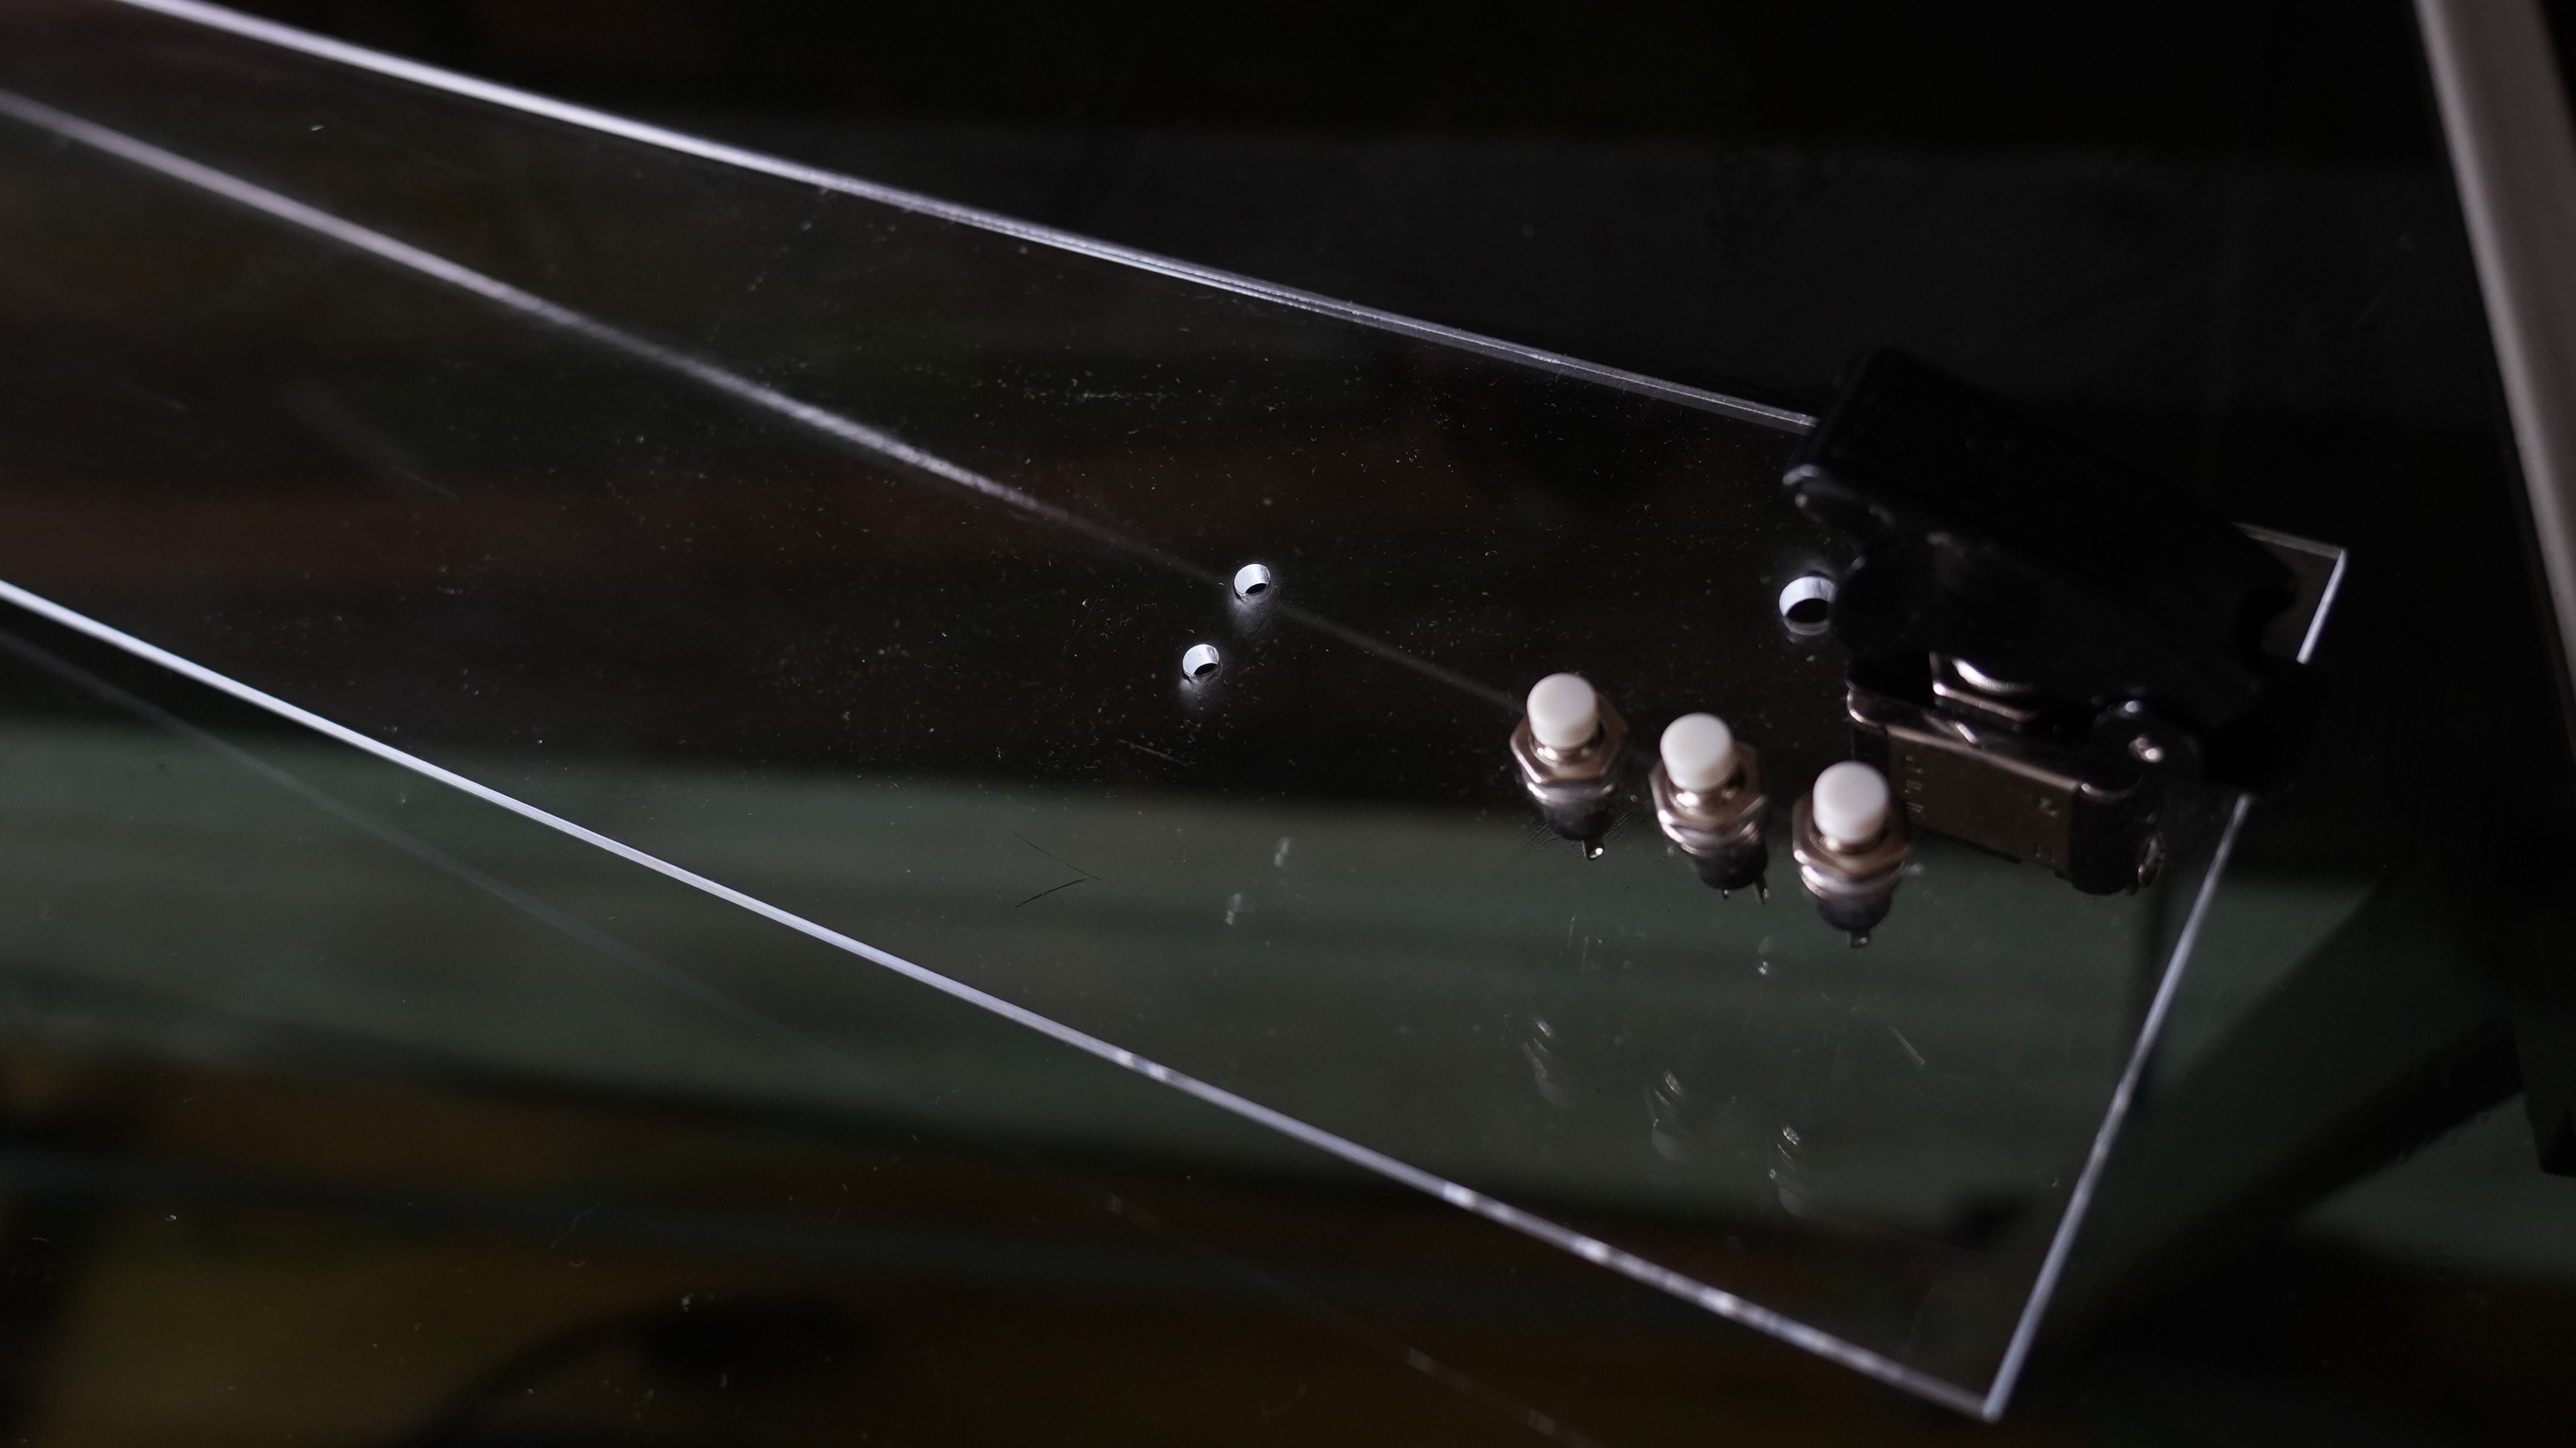
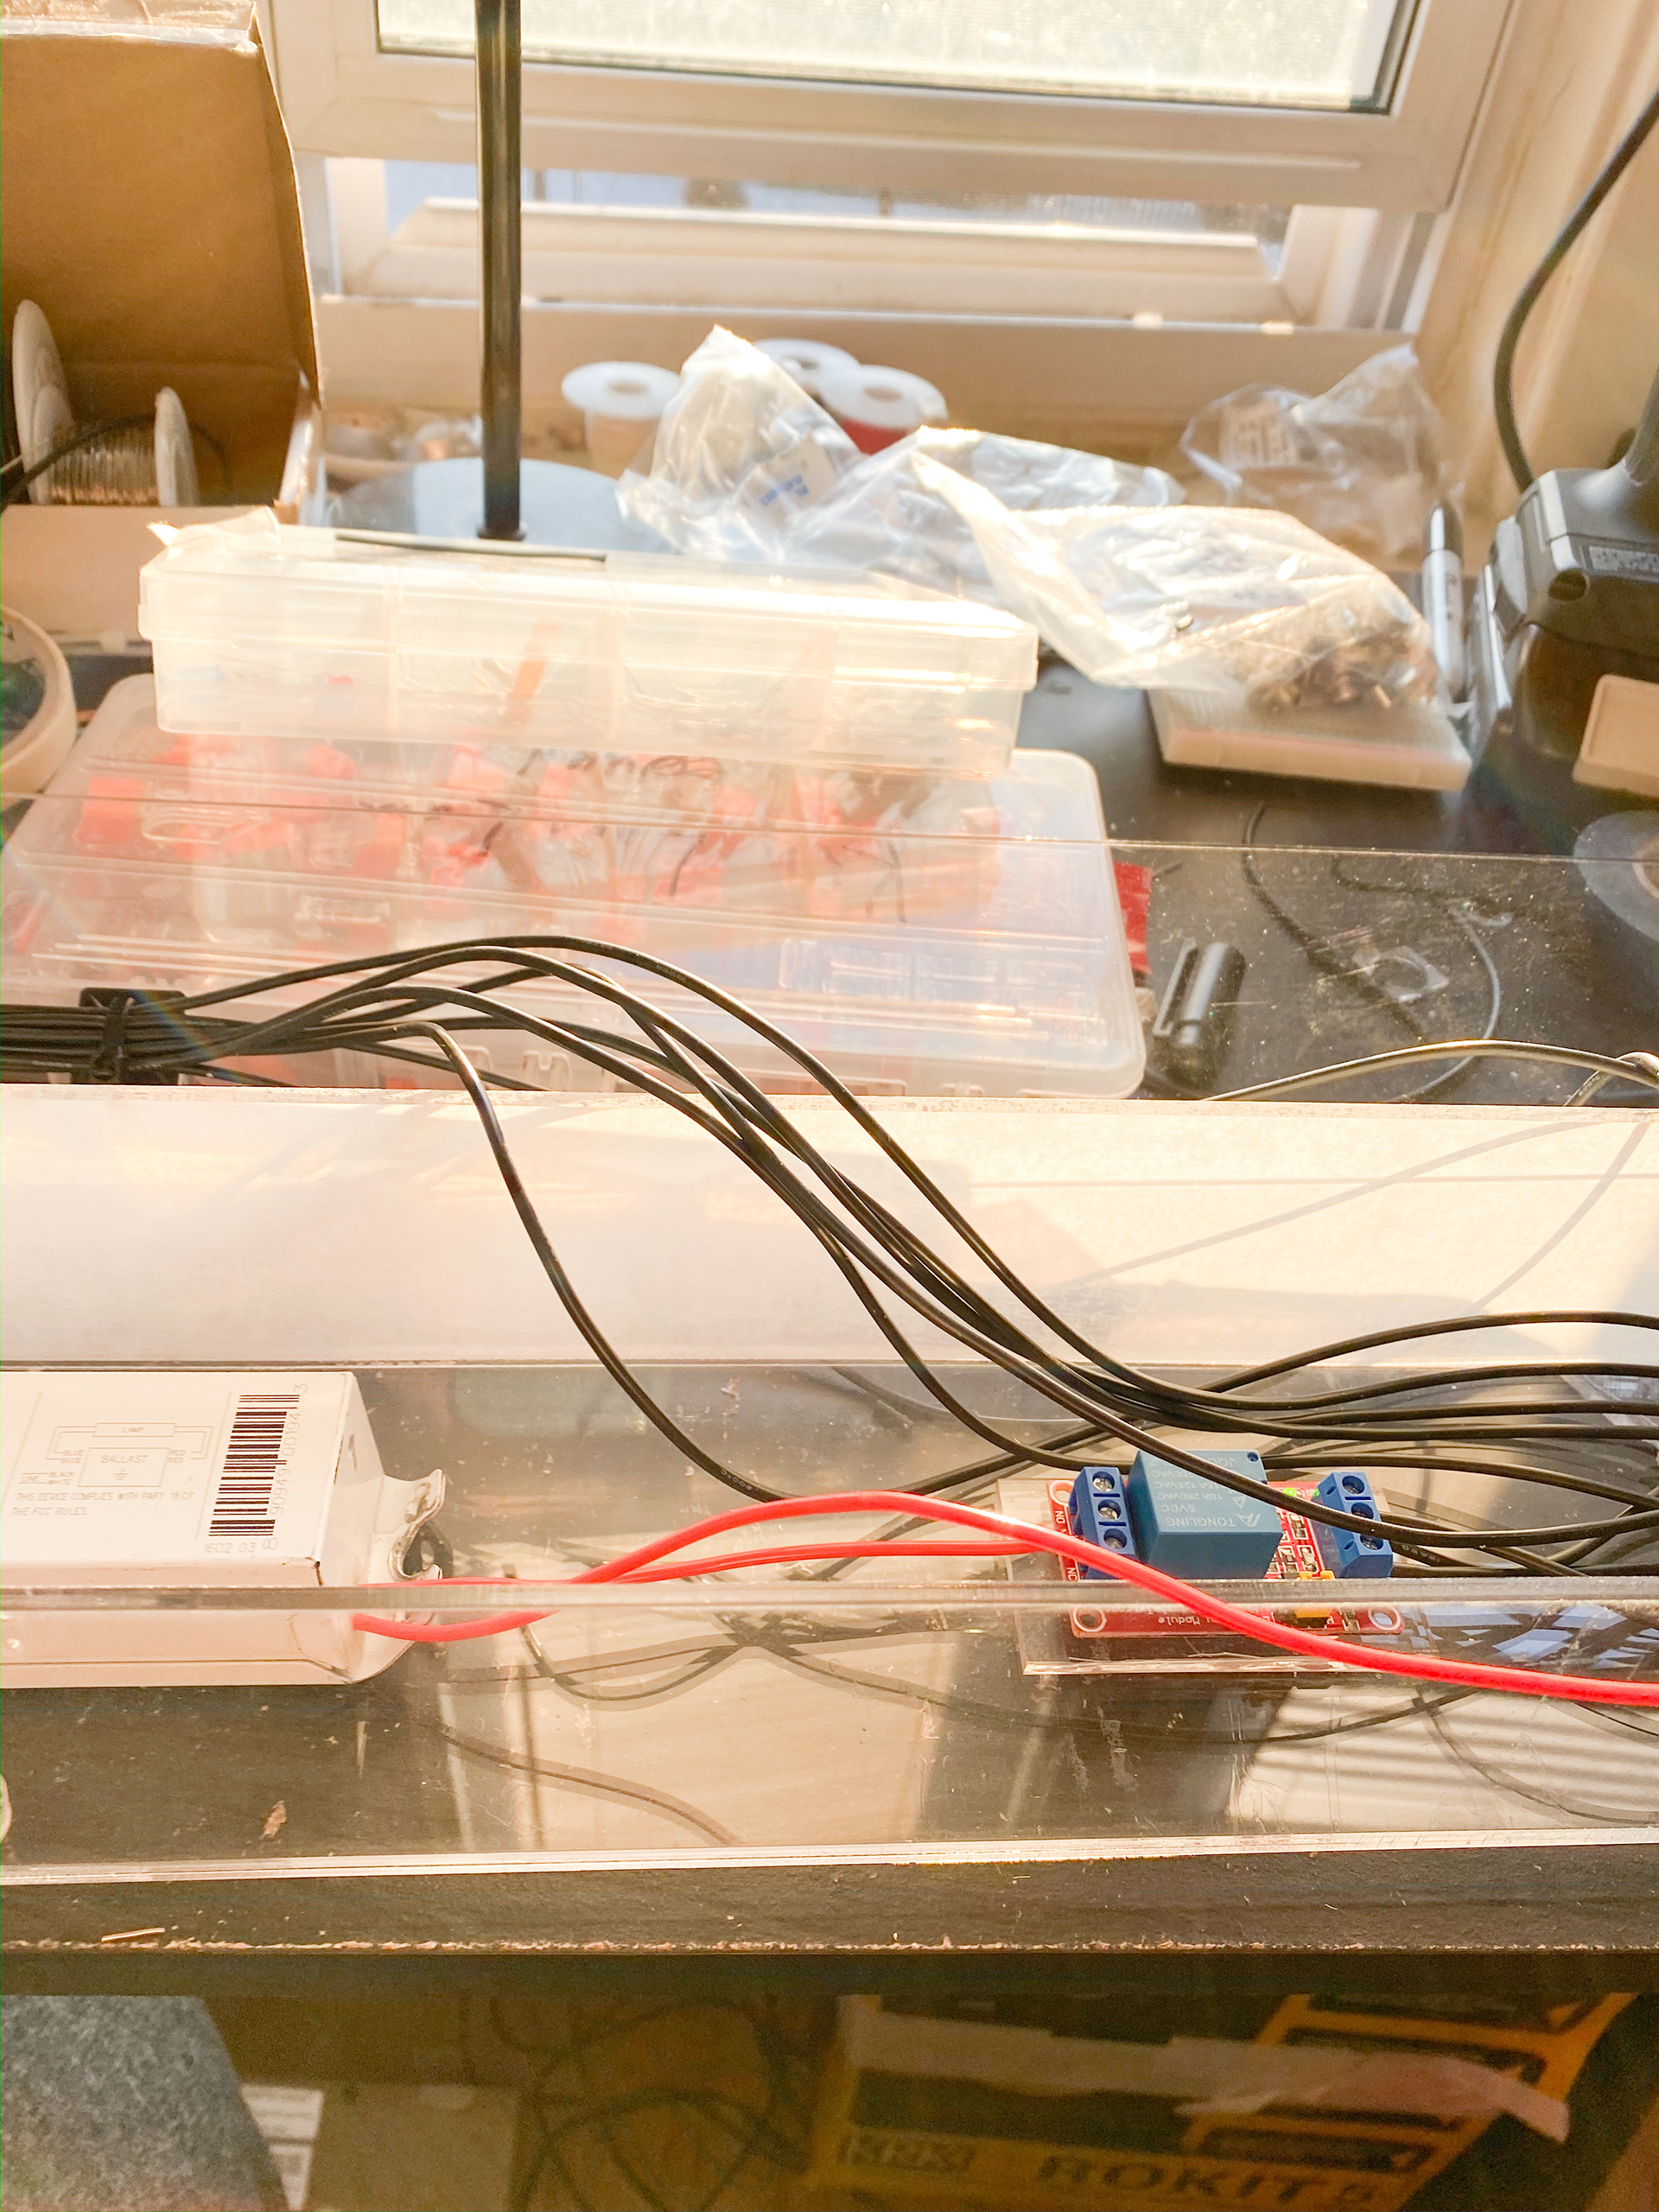
The way this instrument works is I am using the Blink sketch from the Arduino example files, and send the output, which is the blinking patterns, to three places (Relay, Led, Audio), so whatever the sound is making, the light will be turnt on the same way, as well as for the Led. Relay is connected to the ballast, depends on what kind of ballast you have, the way to treat it is different. I also have three buttons and two knobs to play with. I also have a cool ass safety switcher. I will have more detailed pictures below.
And here is some time-lapse videos of me building the prototype from the start to the end.
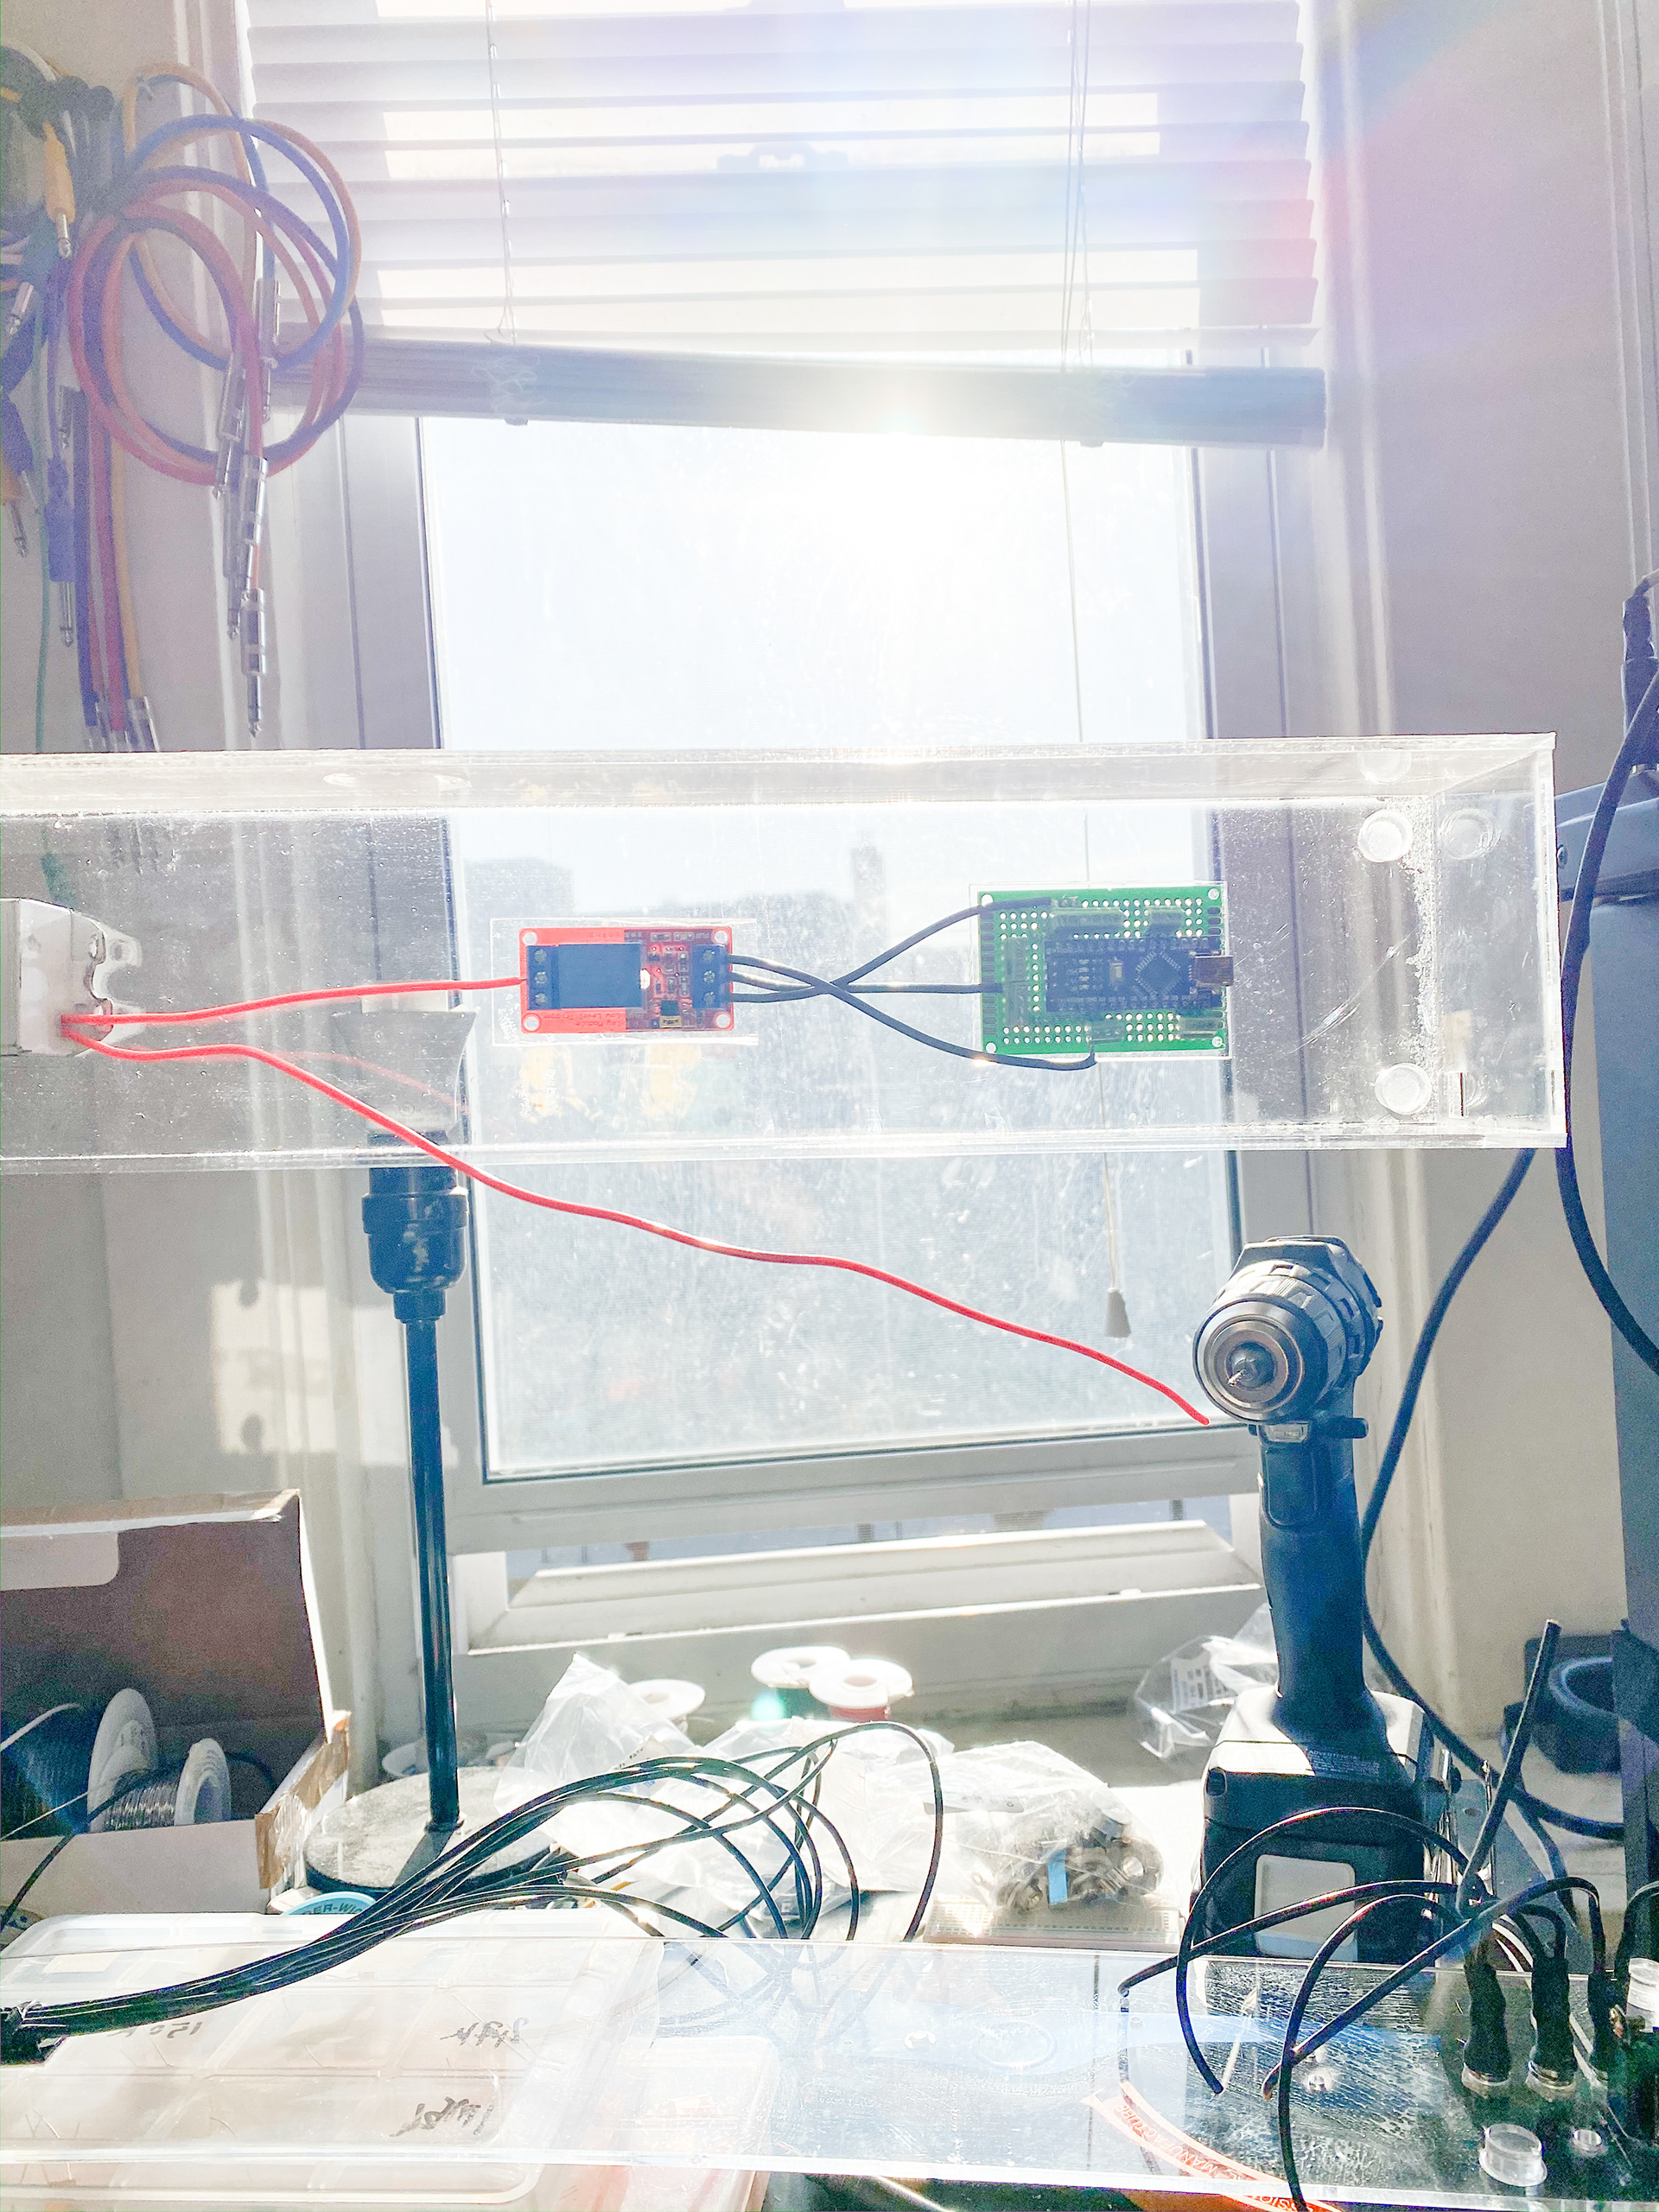
Finished! still a lot a lot of cleaning need to do, but I am happy with the result. Bad light tubes would not work as the first 2 tubes I used for the test either wouldn't turn on, or it wouldn't turn off unless I hit it with my hand.
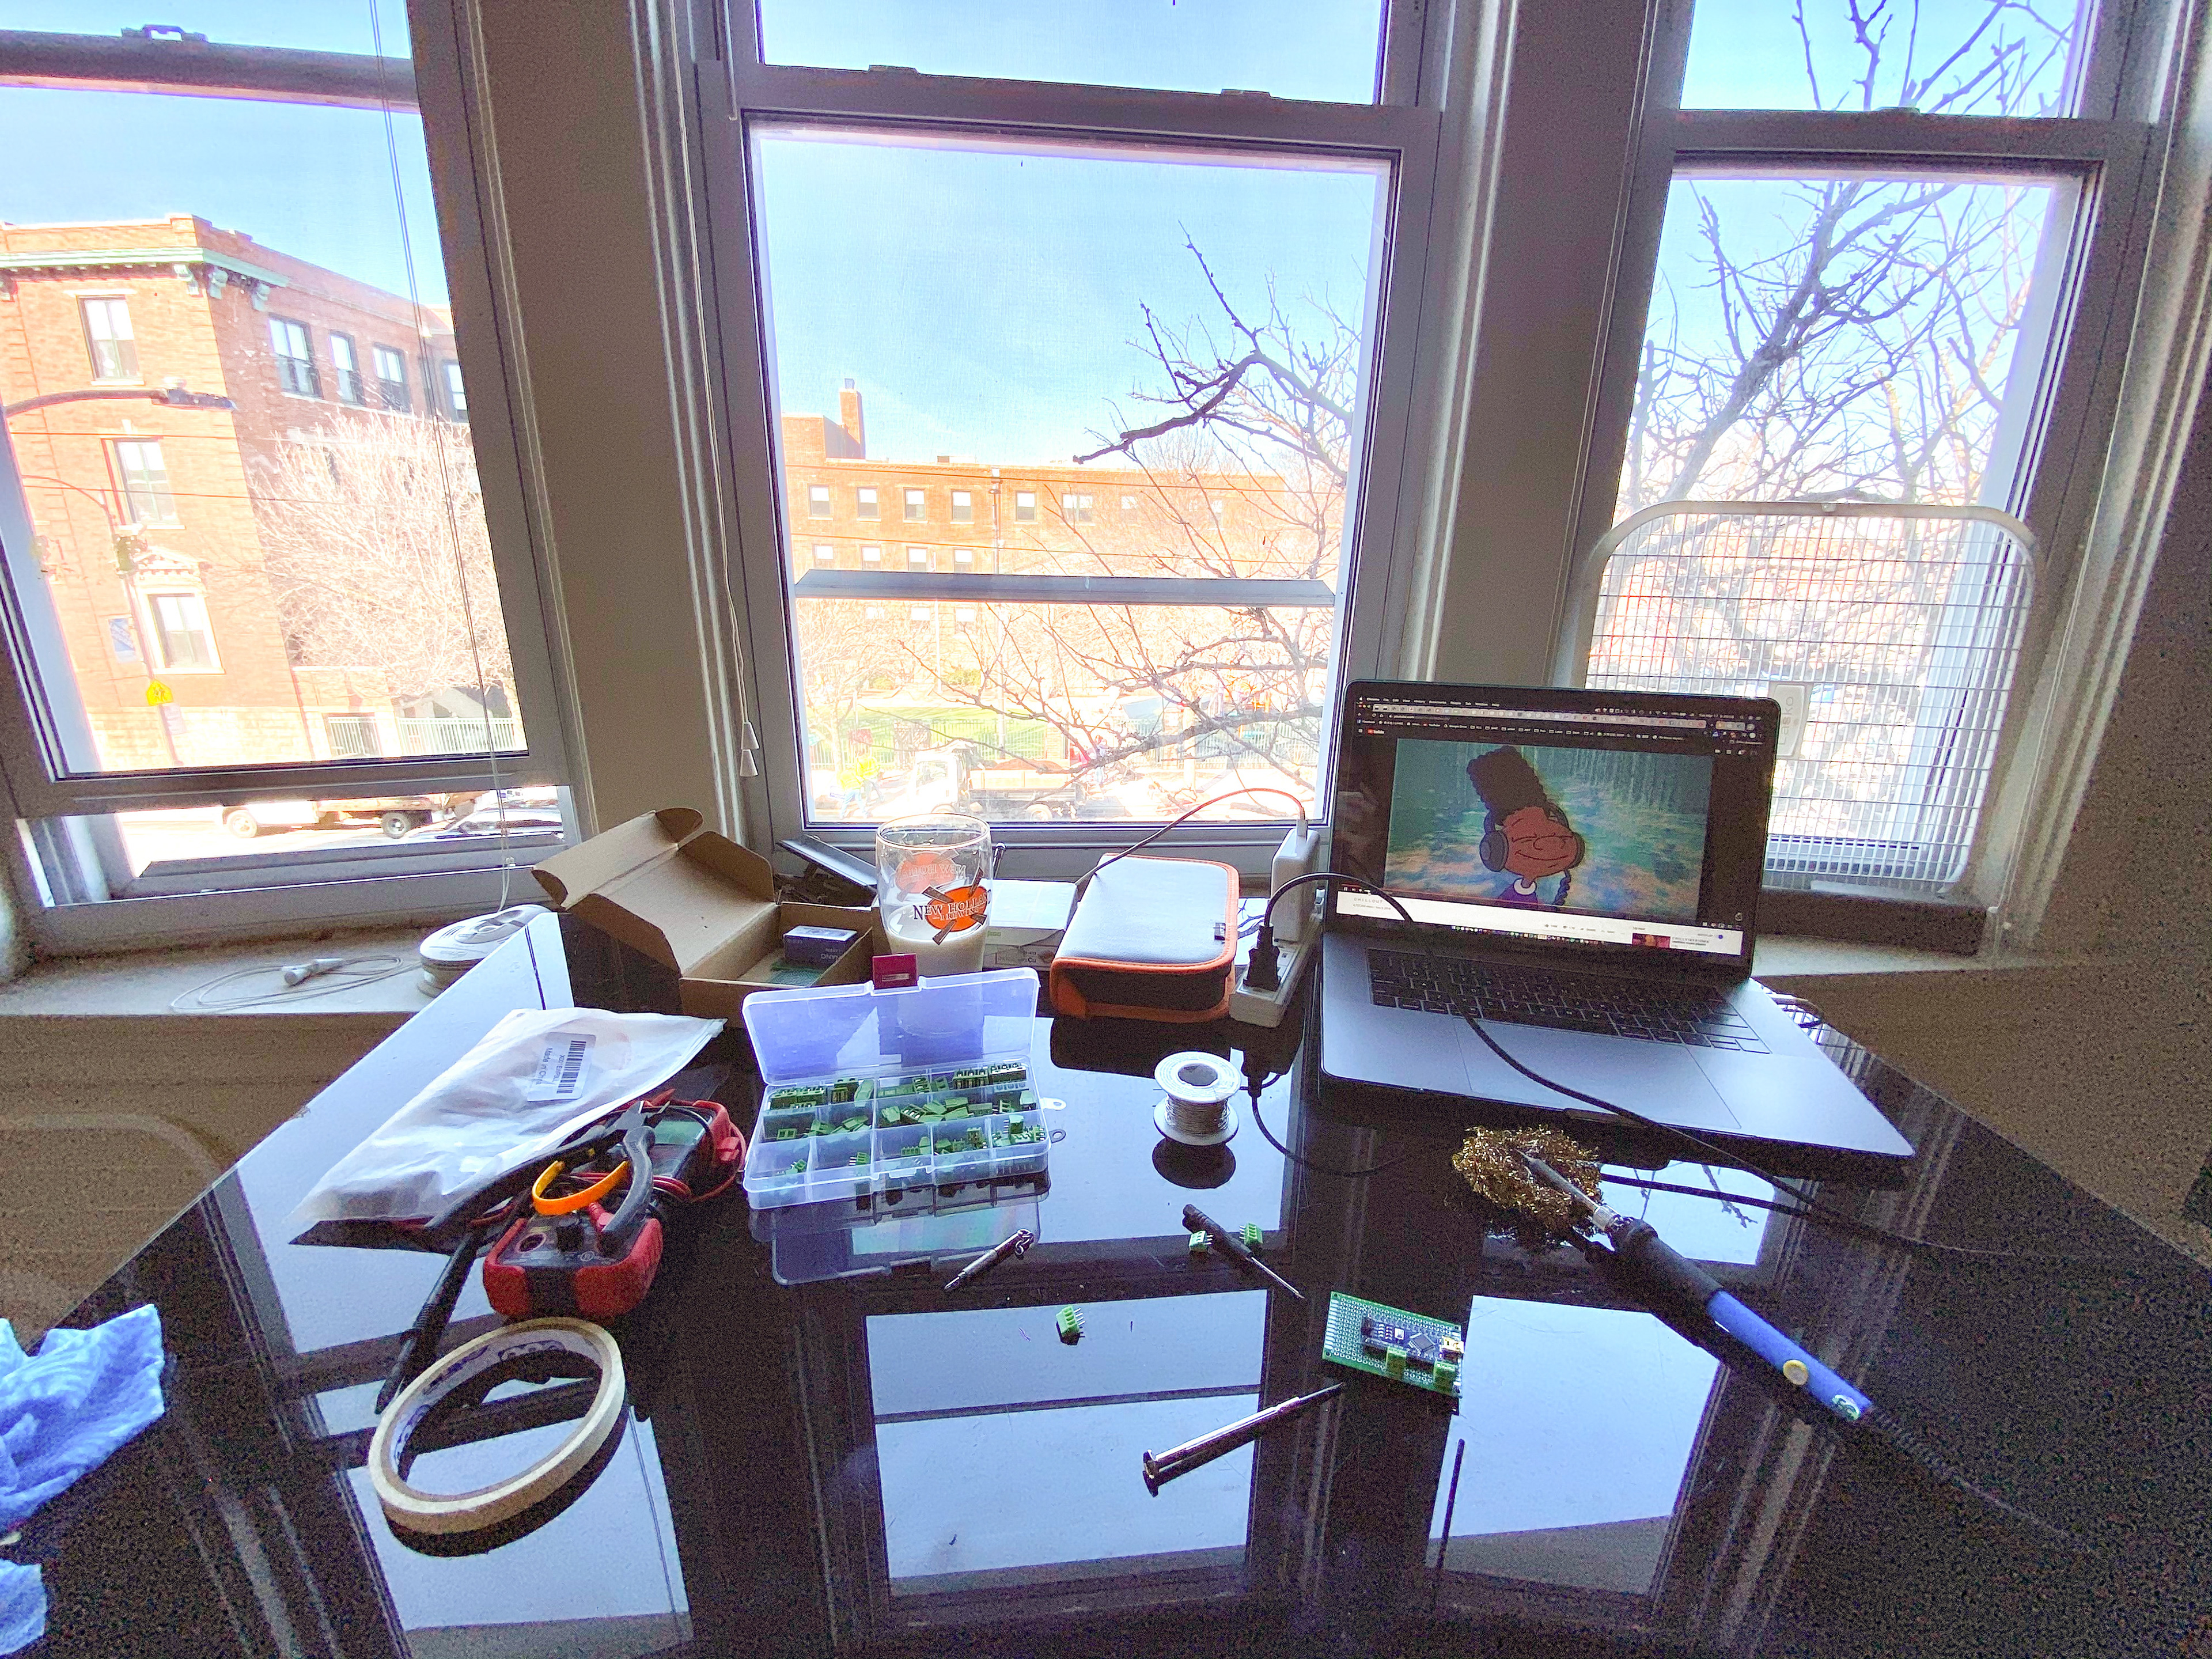
School finally closed, luckily I moved half of my studio back to my apartment. Before all the crazy stuff happened, I didn't really get to spend my time in my apartment here in Chicago. The longer I am here in this space, I am loving it more and more everyday. Lots of sun, space, and time here,
Working is so much better under this environment, I am more focus and happy when doing work. And I don't have to worry about deadline and stuff, I am just working here.
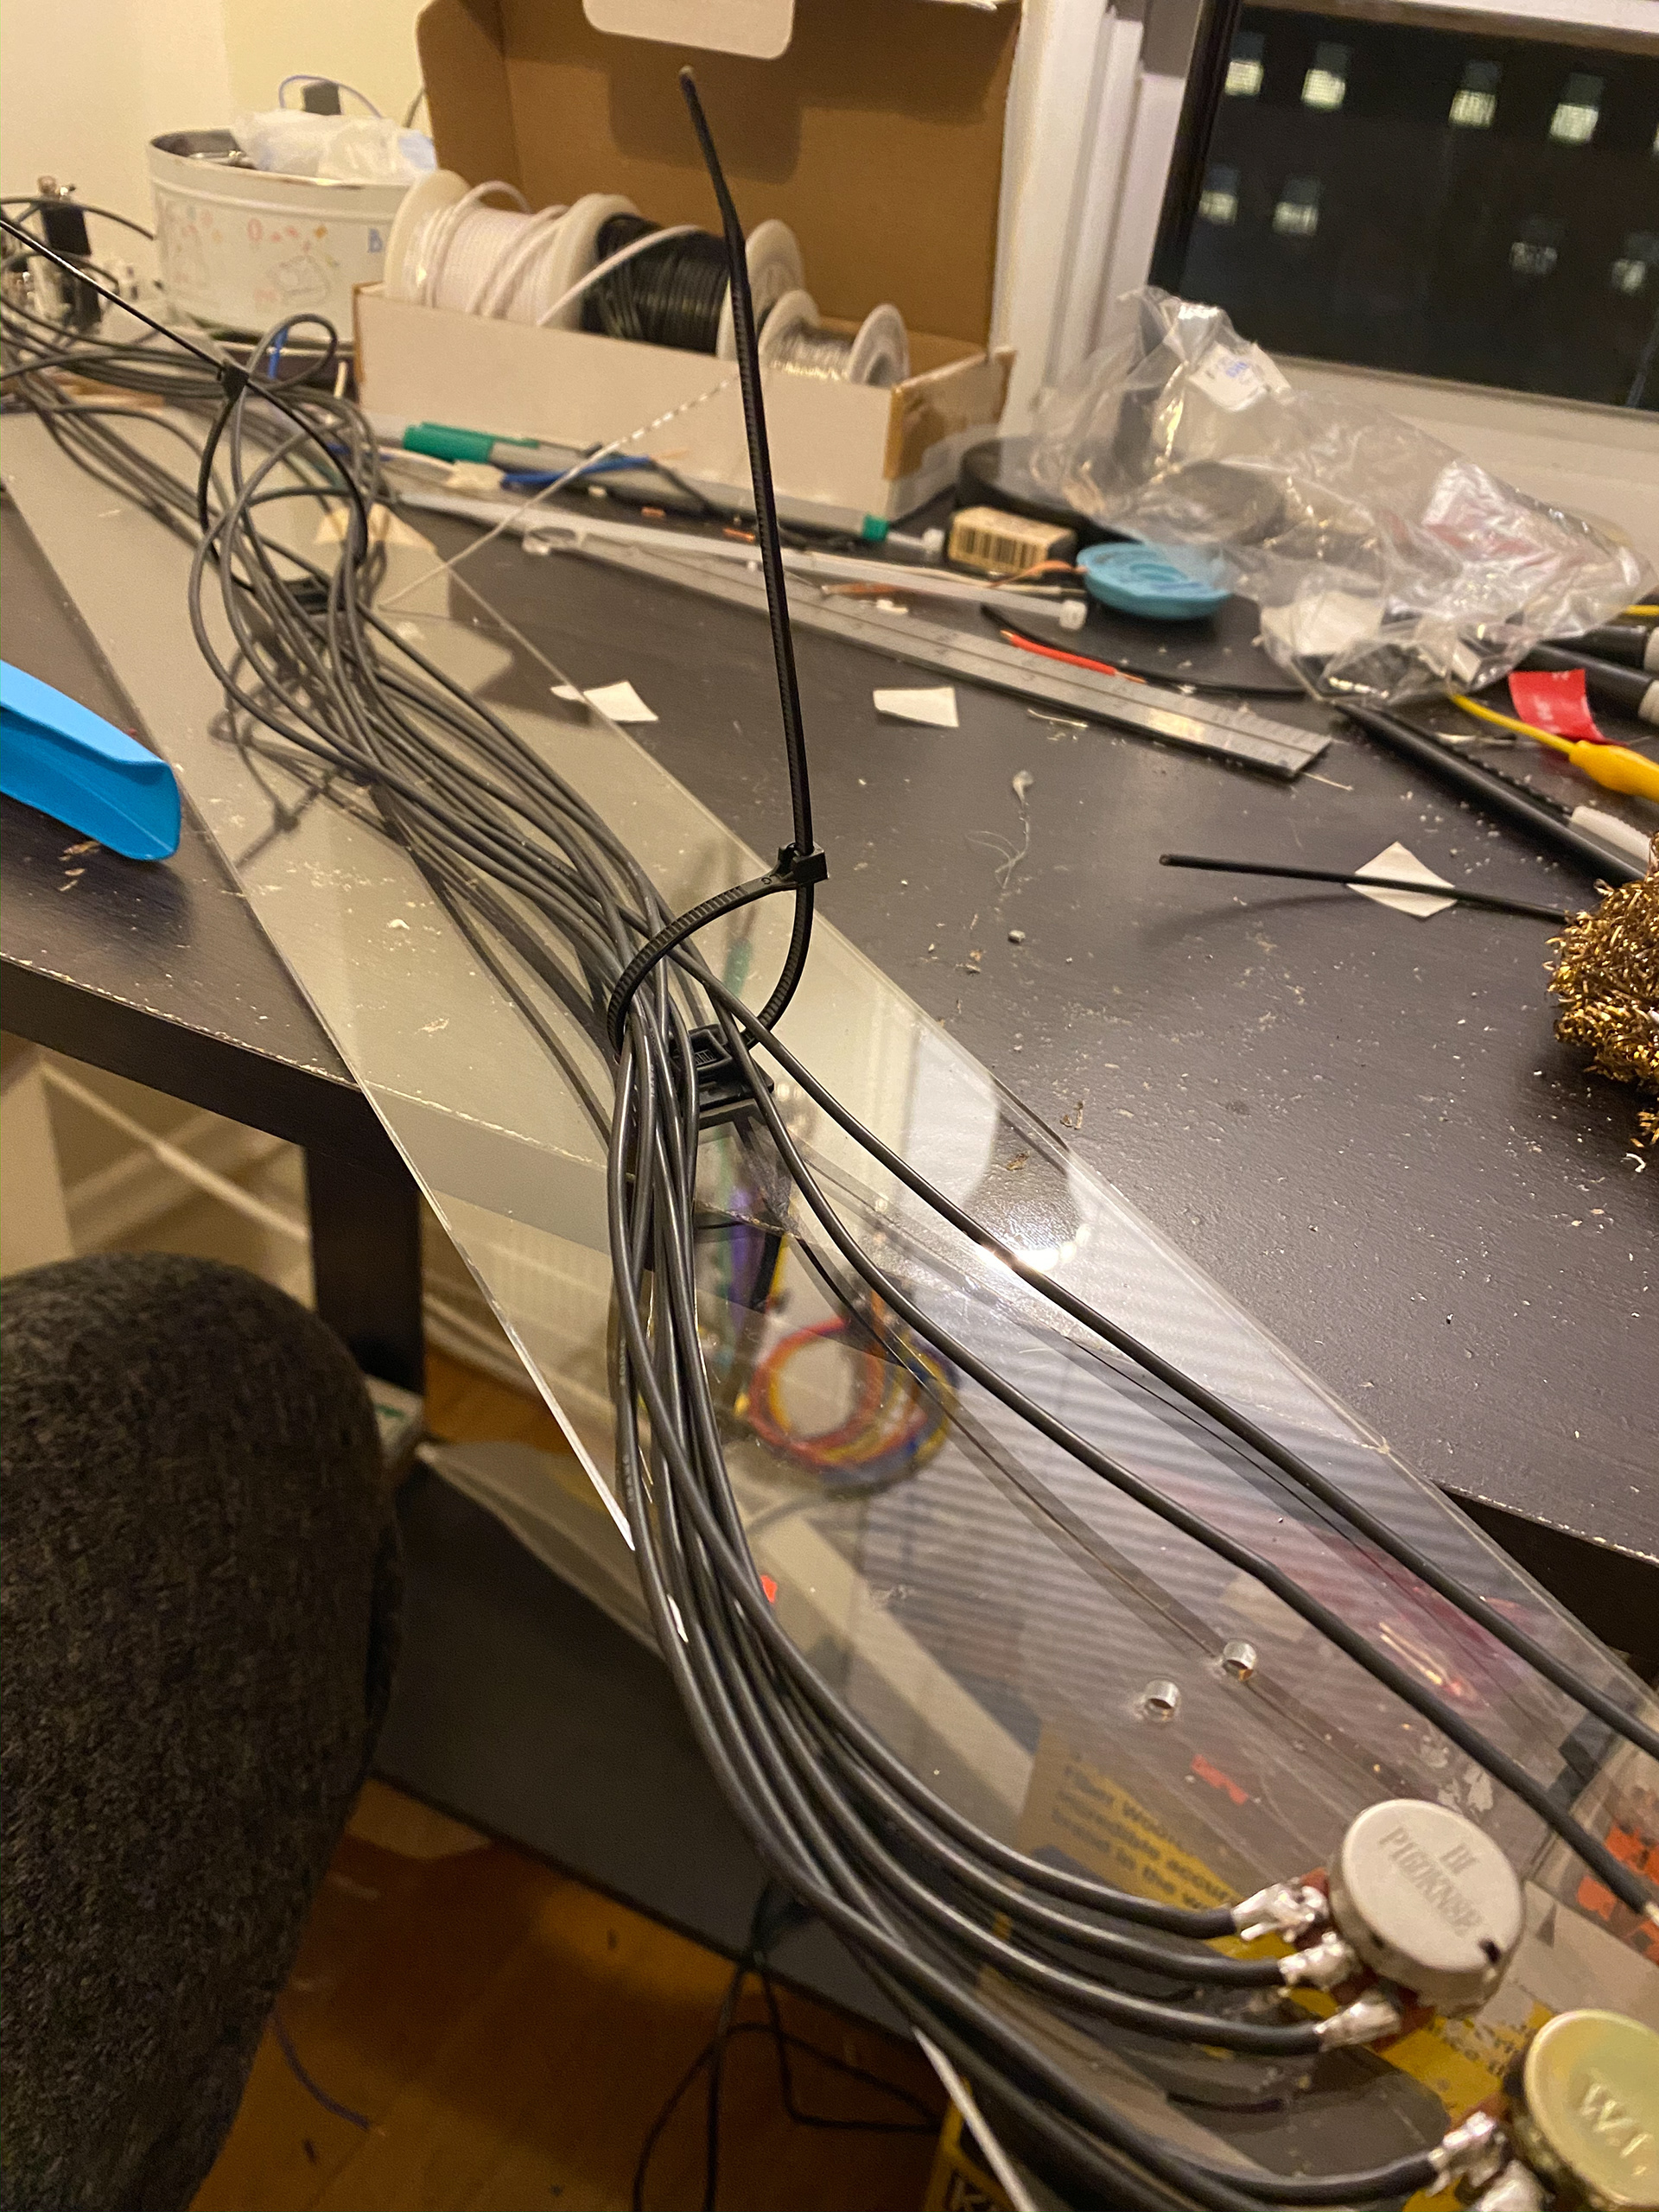
Here are some detailed pictures when I was building the 2nd and 3rd light instruments.


Frame rate is doing crazy stuff!
One of the reasons why I love working with fluorescent lights is that the flickering/frame rate out of sync and creating these beautiful colors.
One of the reasons why I love working with fluorescent lights is that the flickering/frame rate out of sync and creating these beautiful colors.
Found out that my landlord cleaned out the basement, and I think this would be a perfect place for me to do some nice video shots in here!
Some more tests with the lights
STROBES WARNING!
STROBES WARNING!